Fire Starting and Fire Starters
Part One - Fire Starting was presented on 4 January 2014
Part Two - Making Fire Starters was presented on 11 January 2014
(Right Click the above Links to D/L the Audio Archives.)
| 'Modern' Fire Making | ||||
|
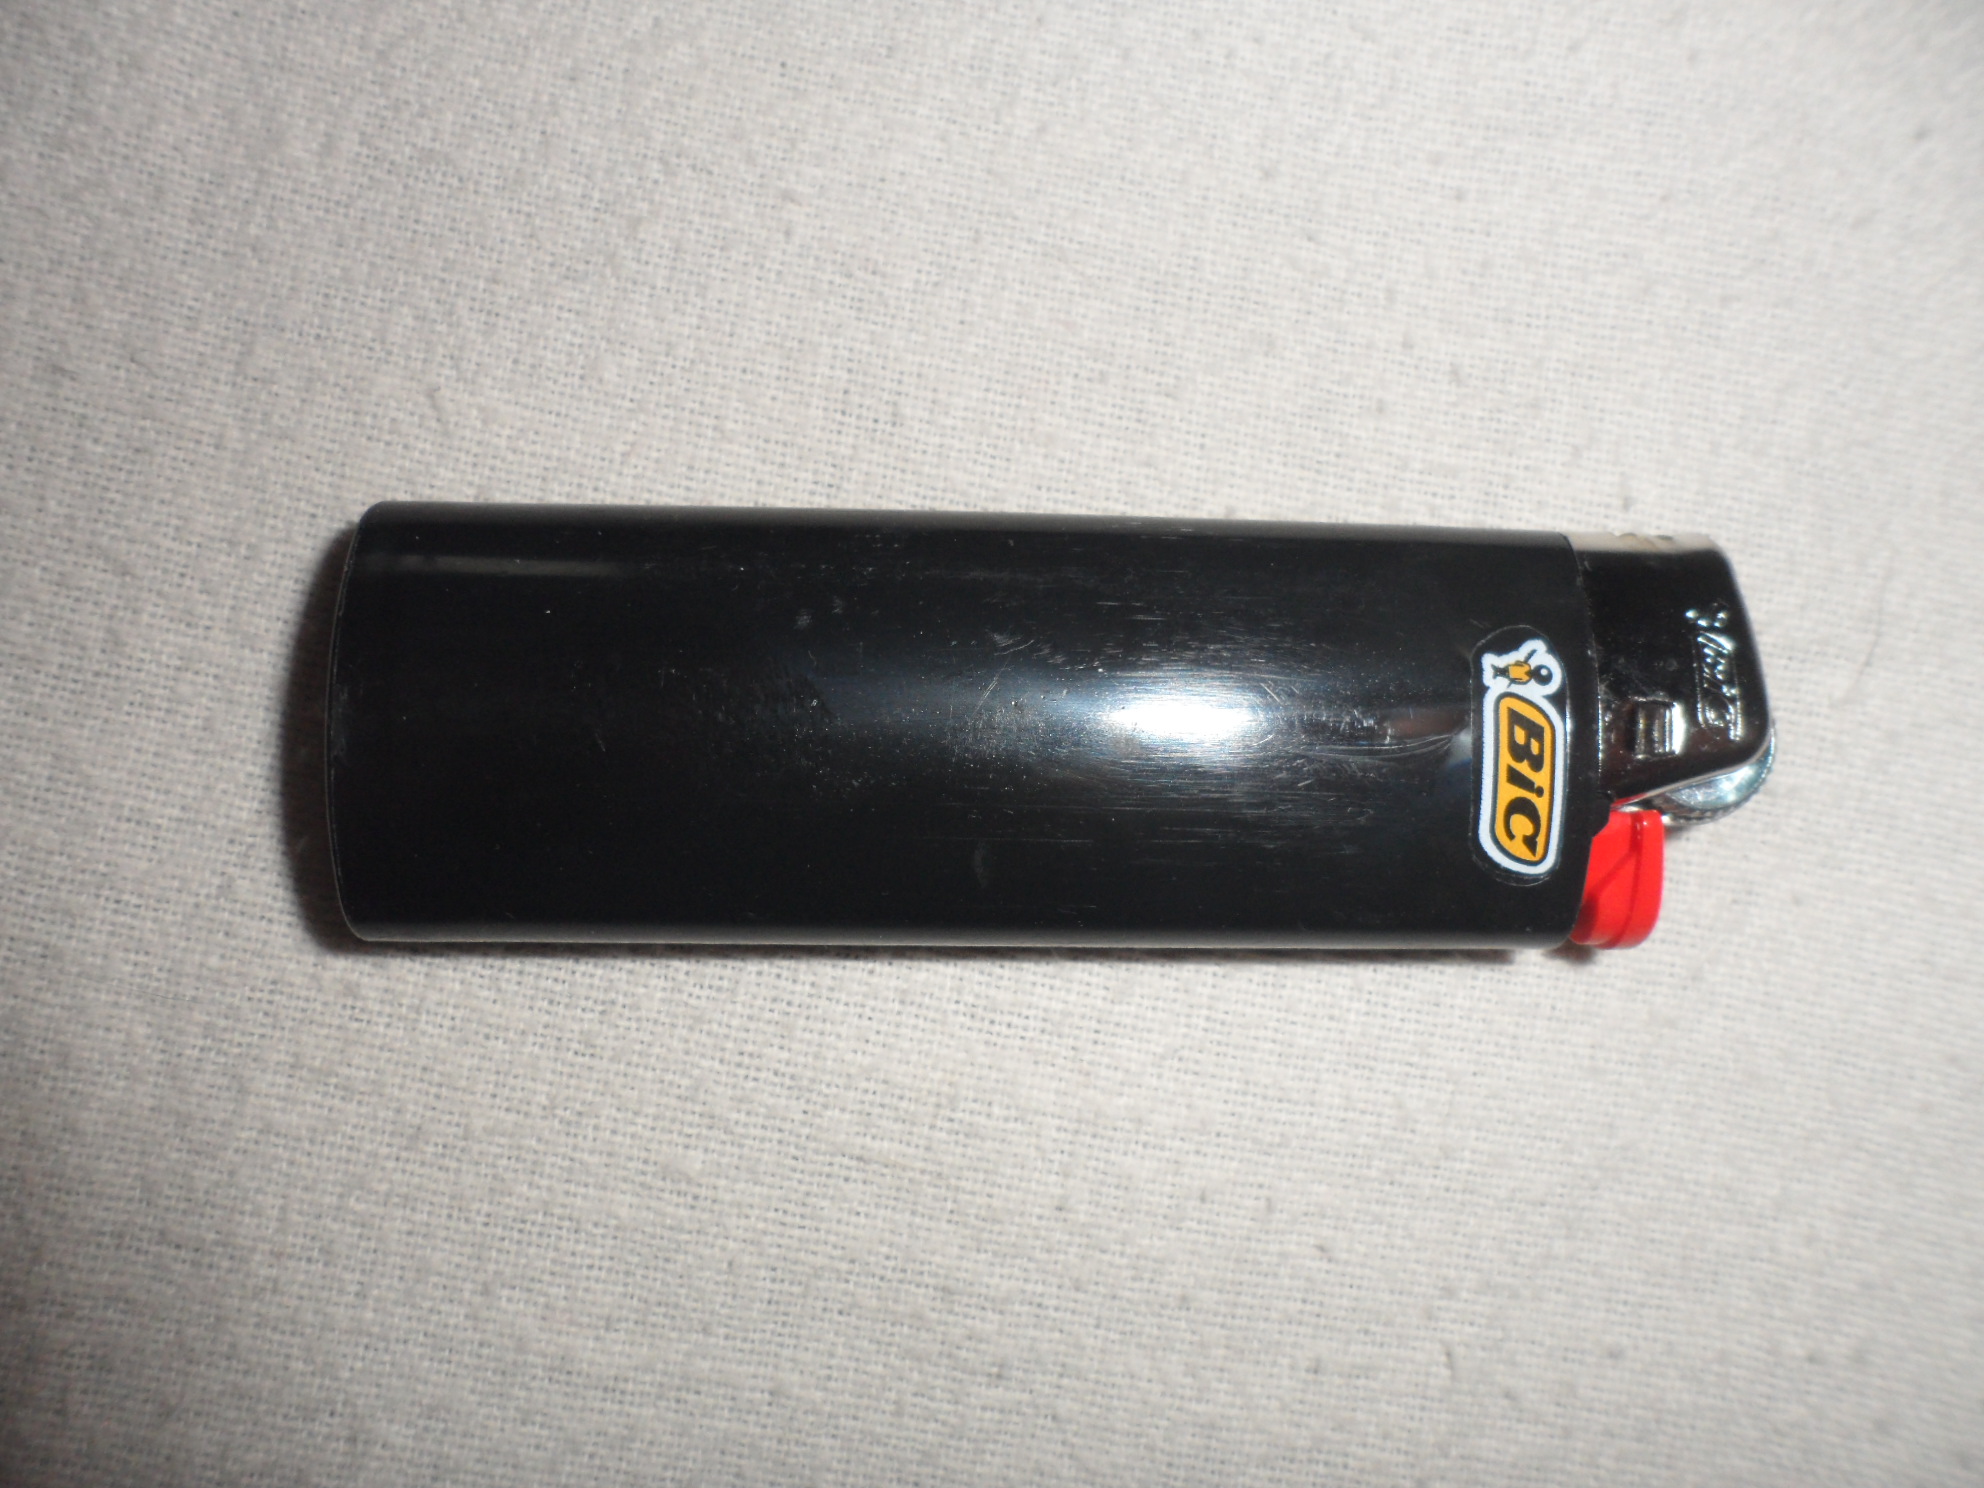
How many ways are there to start a fire that you can think of? Today, when most people think of starting a fire they think Matches or a Lighter. |
|
 |
||
| Oldest fire type | ||||
|
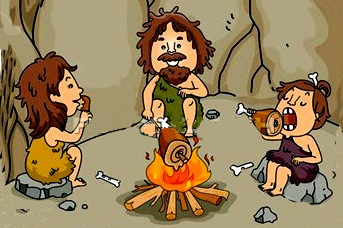
We don't know how rhe earliest fires were kindled or maintained. Some were possibly kept going after a lightning strike or prairie fire. Someone may have learned to strike a couple rocks together to strike sparks. ... or
maybe they just 'rubbed two sticks together?... |
 |
|||
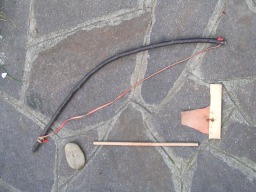
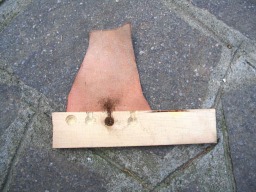
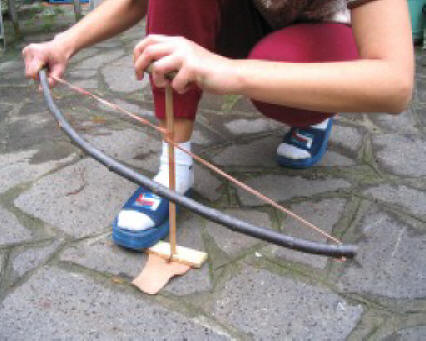
| A BOW DRILL | ||||
|
- a straight and round
stick to be used as drill (lime, horse chestnut, hazel, etc.); |
 |
 |
||
|
HOW TO USE THE BOWCRILL - put a
few drops of wax in the cavity of the stone; |
 |
|||
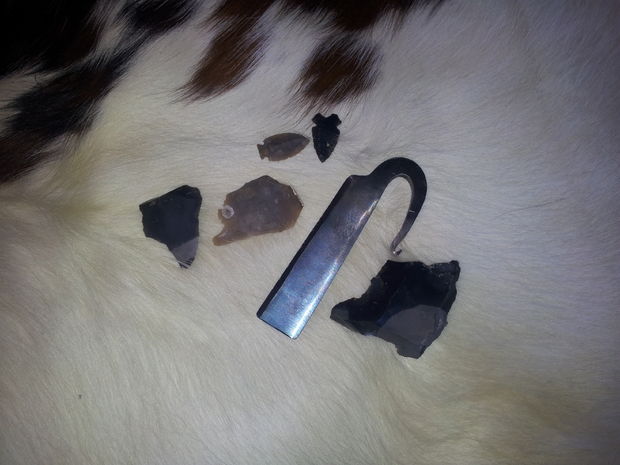
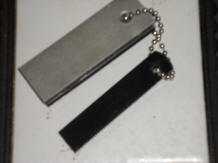
| Flint and Steel | ||||
|
On the left is a 'Traditional' ine using actual flint or chert. To the right is the modern adaptation. In it you have a block of Magnesium with a ceremetal (flint substitute) and a short section of a hacksaw blade.
|
 |
 |
||
|
If you
strike a piece of pyrite, or steel, sharp and hard against a piece of
flint, sparks will shower from the impact point. |
The ptocess is similar
with a Magnesium fire starter. |
|||
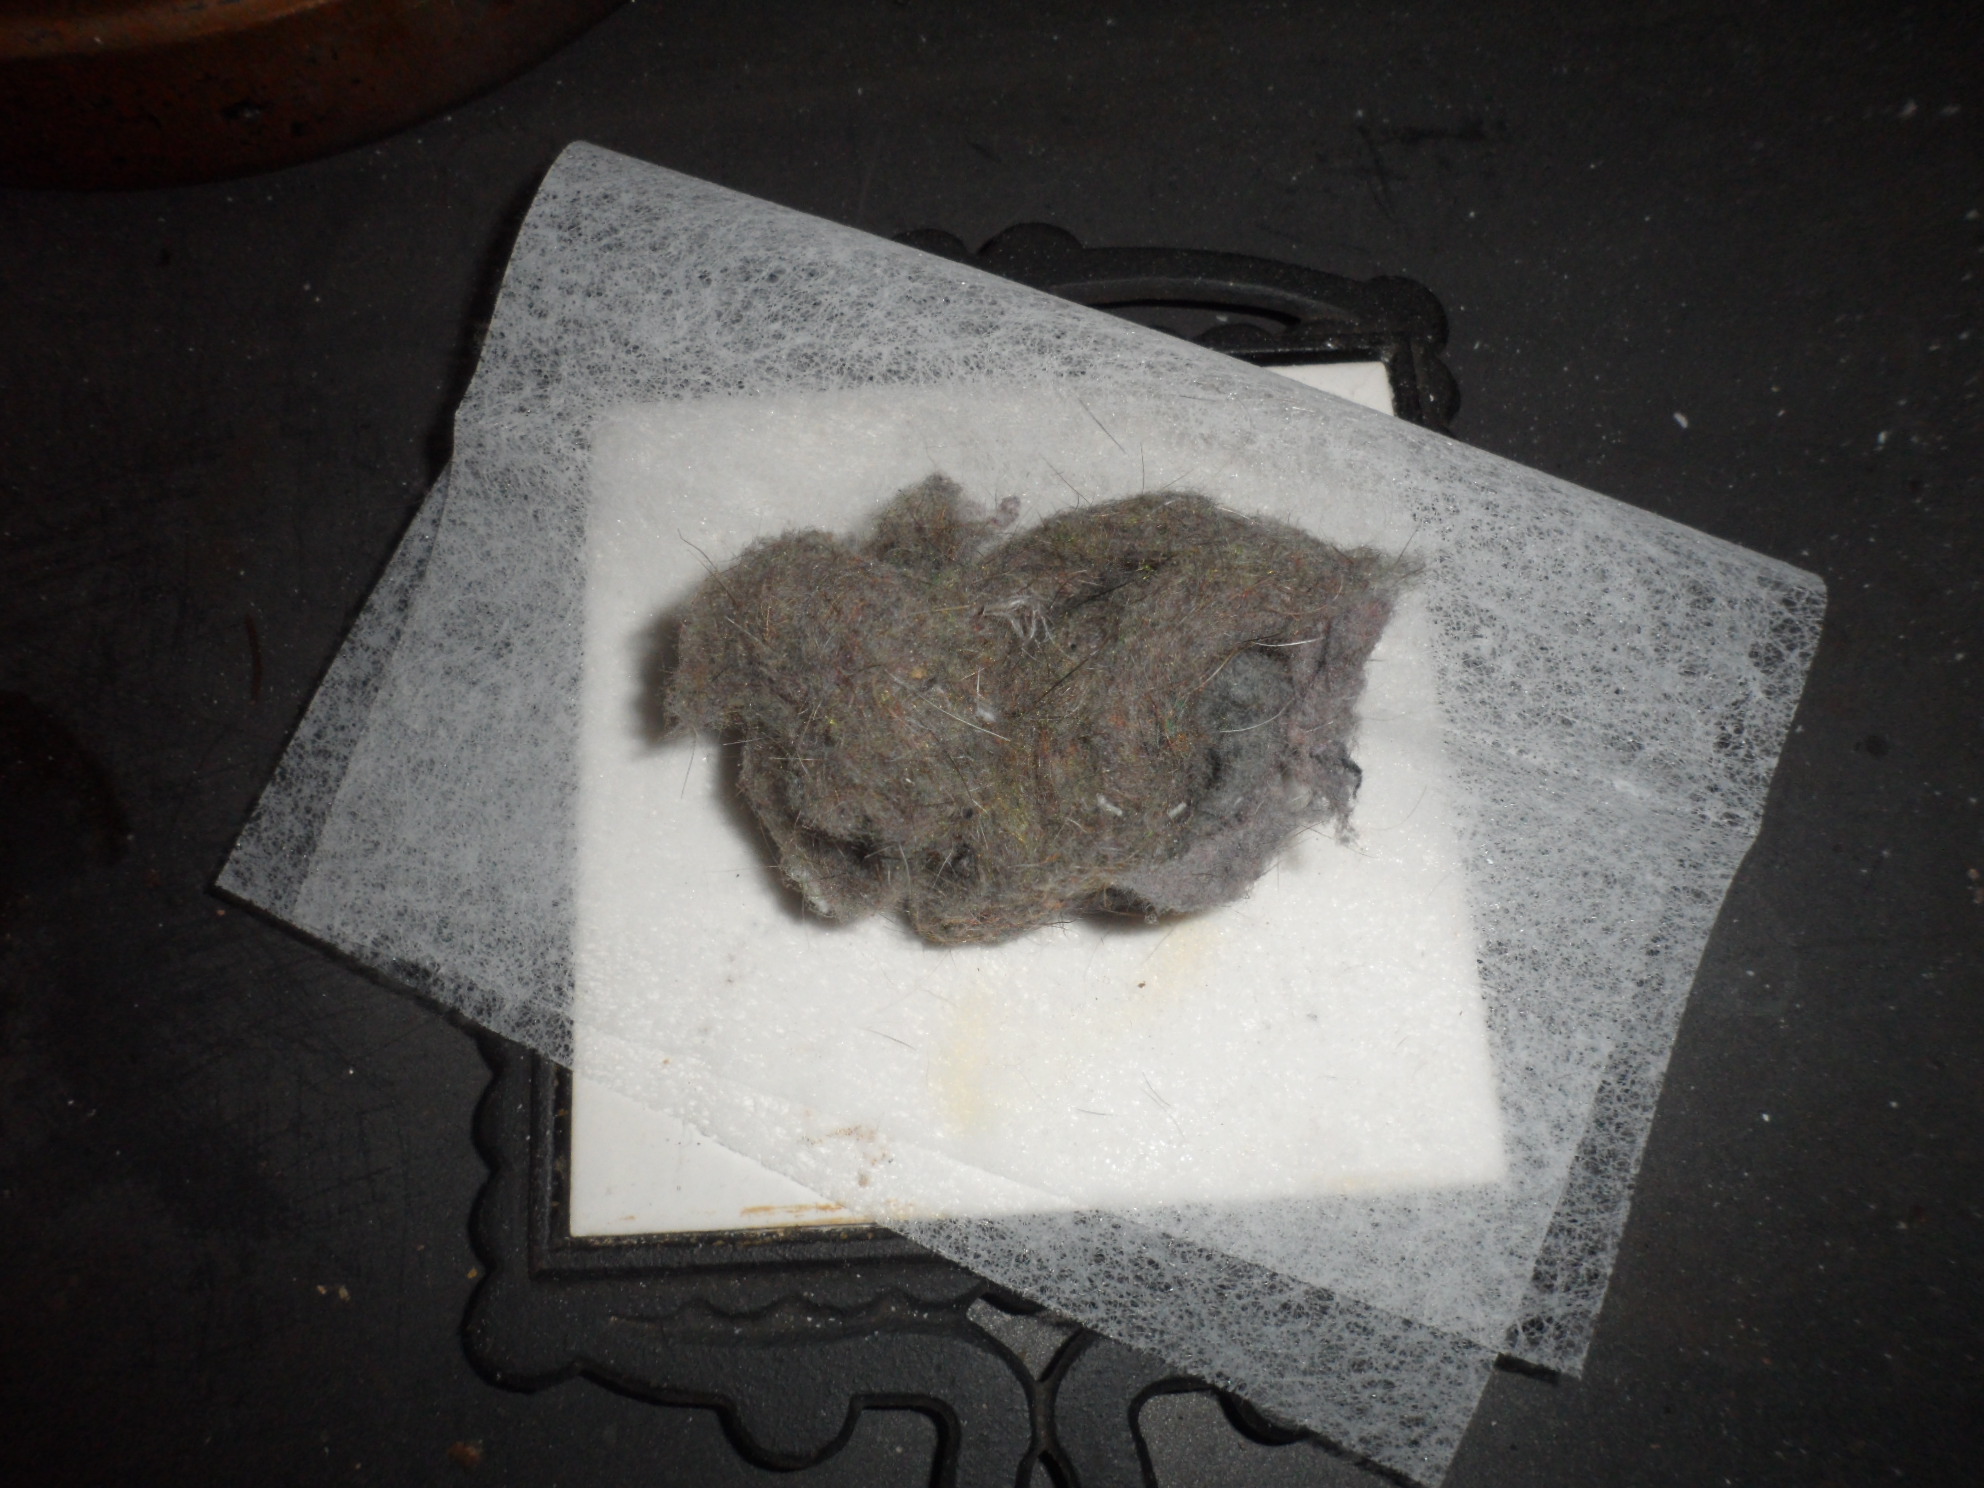
|
Here is an example of a
piece of common dryer lint. |
 |
 |
||
| Tinders | ||||
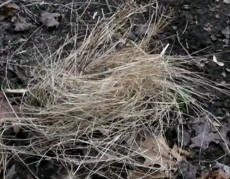
|
Dry Grass or Leaves |
 |
|||
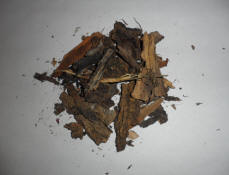
|
Bark Scraps One can also use strips of Birch or Poplar Bark. The inner bark of Pine can be used as well. |
 |
|||
|
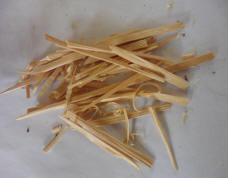
Wood Scraps and slivers |
 |
|||
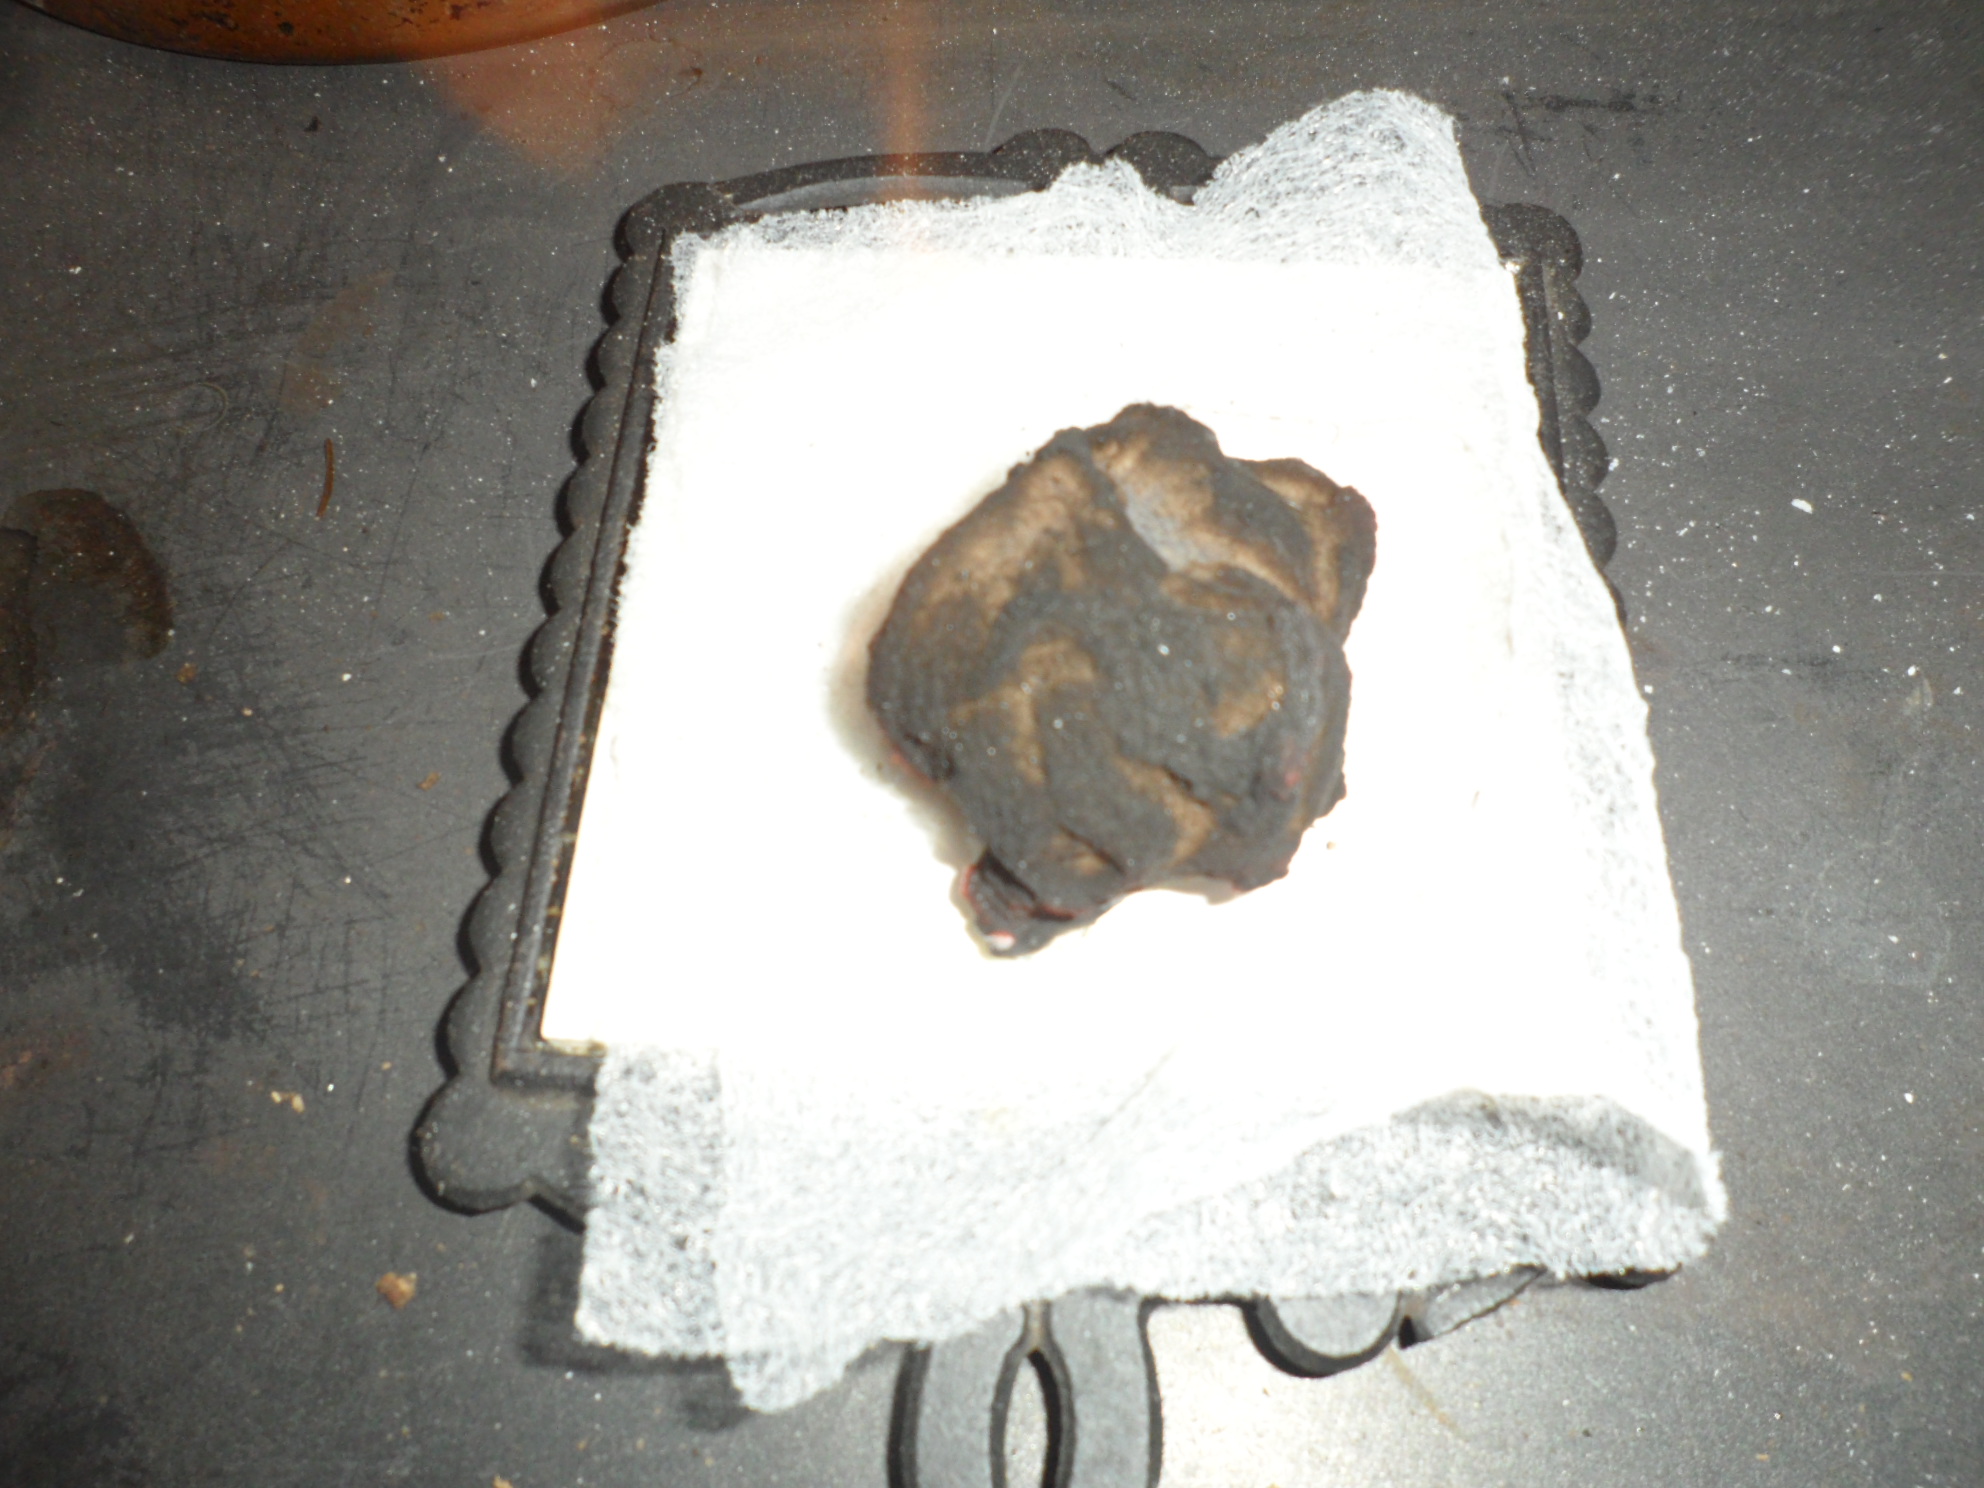
|
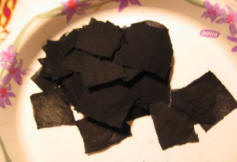
Charcloth This is produced by incompletely burning scraps of fabric. |
 |
|||
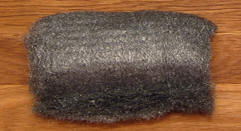
|
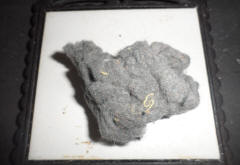
Lint Found in your local dryer, pockets or area laundromat! |
 |
|||
|
Other things which can be used as tinder for fire starting include (but are not limited to!) are: 1: The 'fluff' from Cat-tails, 2: The 'fluuf' from Milkweed Pods (aka Butterfly weeds), 3: Sawdust 4: or Shredded paper.
|
||||
| Travel or 'Survival' Kits | ||||
|
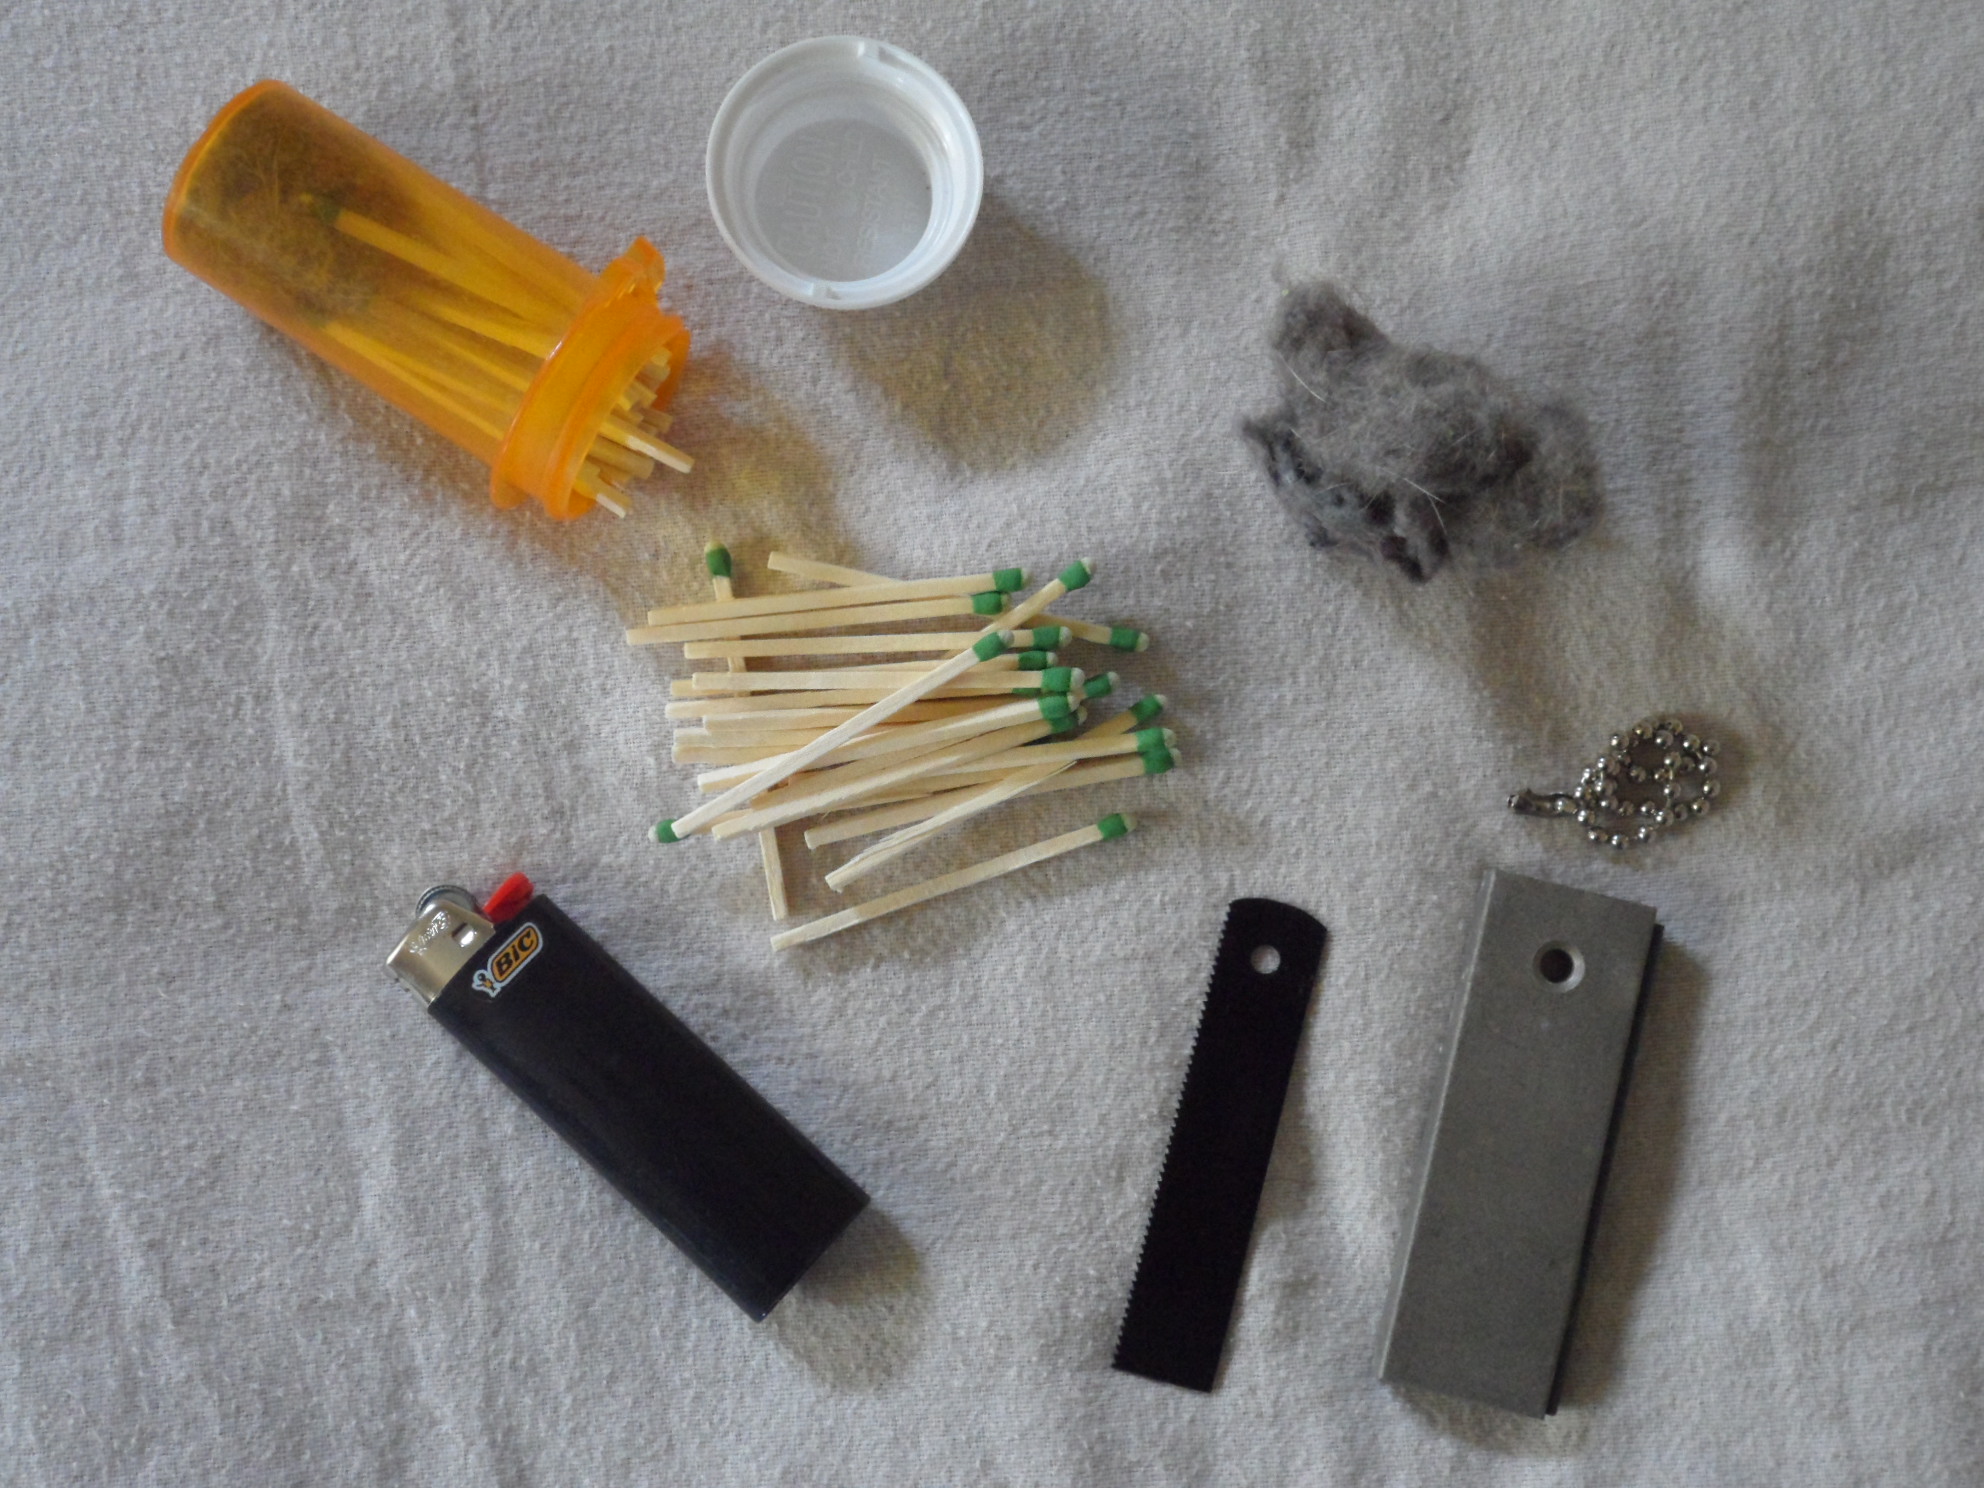
Here are four examples
of 'kits' you can make and keep with you when you are either traveling
or enjoying the 'Great Outdoors' 2: A Magnesium Firestarter with lint. 3: Carry strike anywhere matches in a pill bottle. Cushioning the matches with lint serves two purposes: it reduces the chance of accidental lighting and gives you a ready supply of tinder. 4: Carry a small amount of Steel Wool and a 9 volt battery in separate baggies. If you take a small amount of steel wool and 'fluff it up you can bridge across the battery and quickly bring it to sparking/melting heat. |
 |
|||
 |
 |
|||
| Home Made Firestarters. | ||||
|
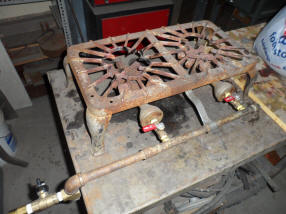
First you need to
prepare your work area and your heat source. The 'table it is sitting on is a metal cart.
|
 |
|||
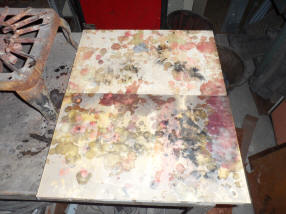
|
To the right of the heating area I use a couple 1" thick pieces of wood. When hot wax spills occur the wax cools on the surface and can be reclaimed.
|
 |
|||
| Next gather your Materials. | ||||
|
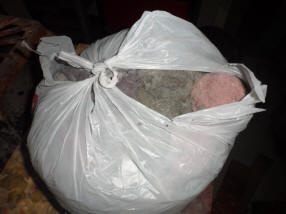
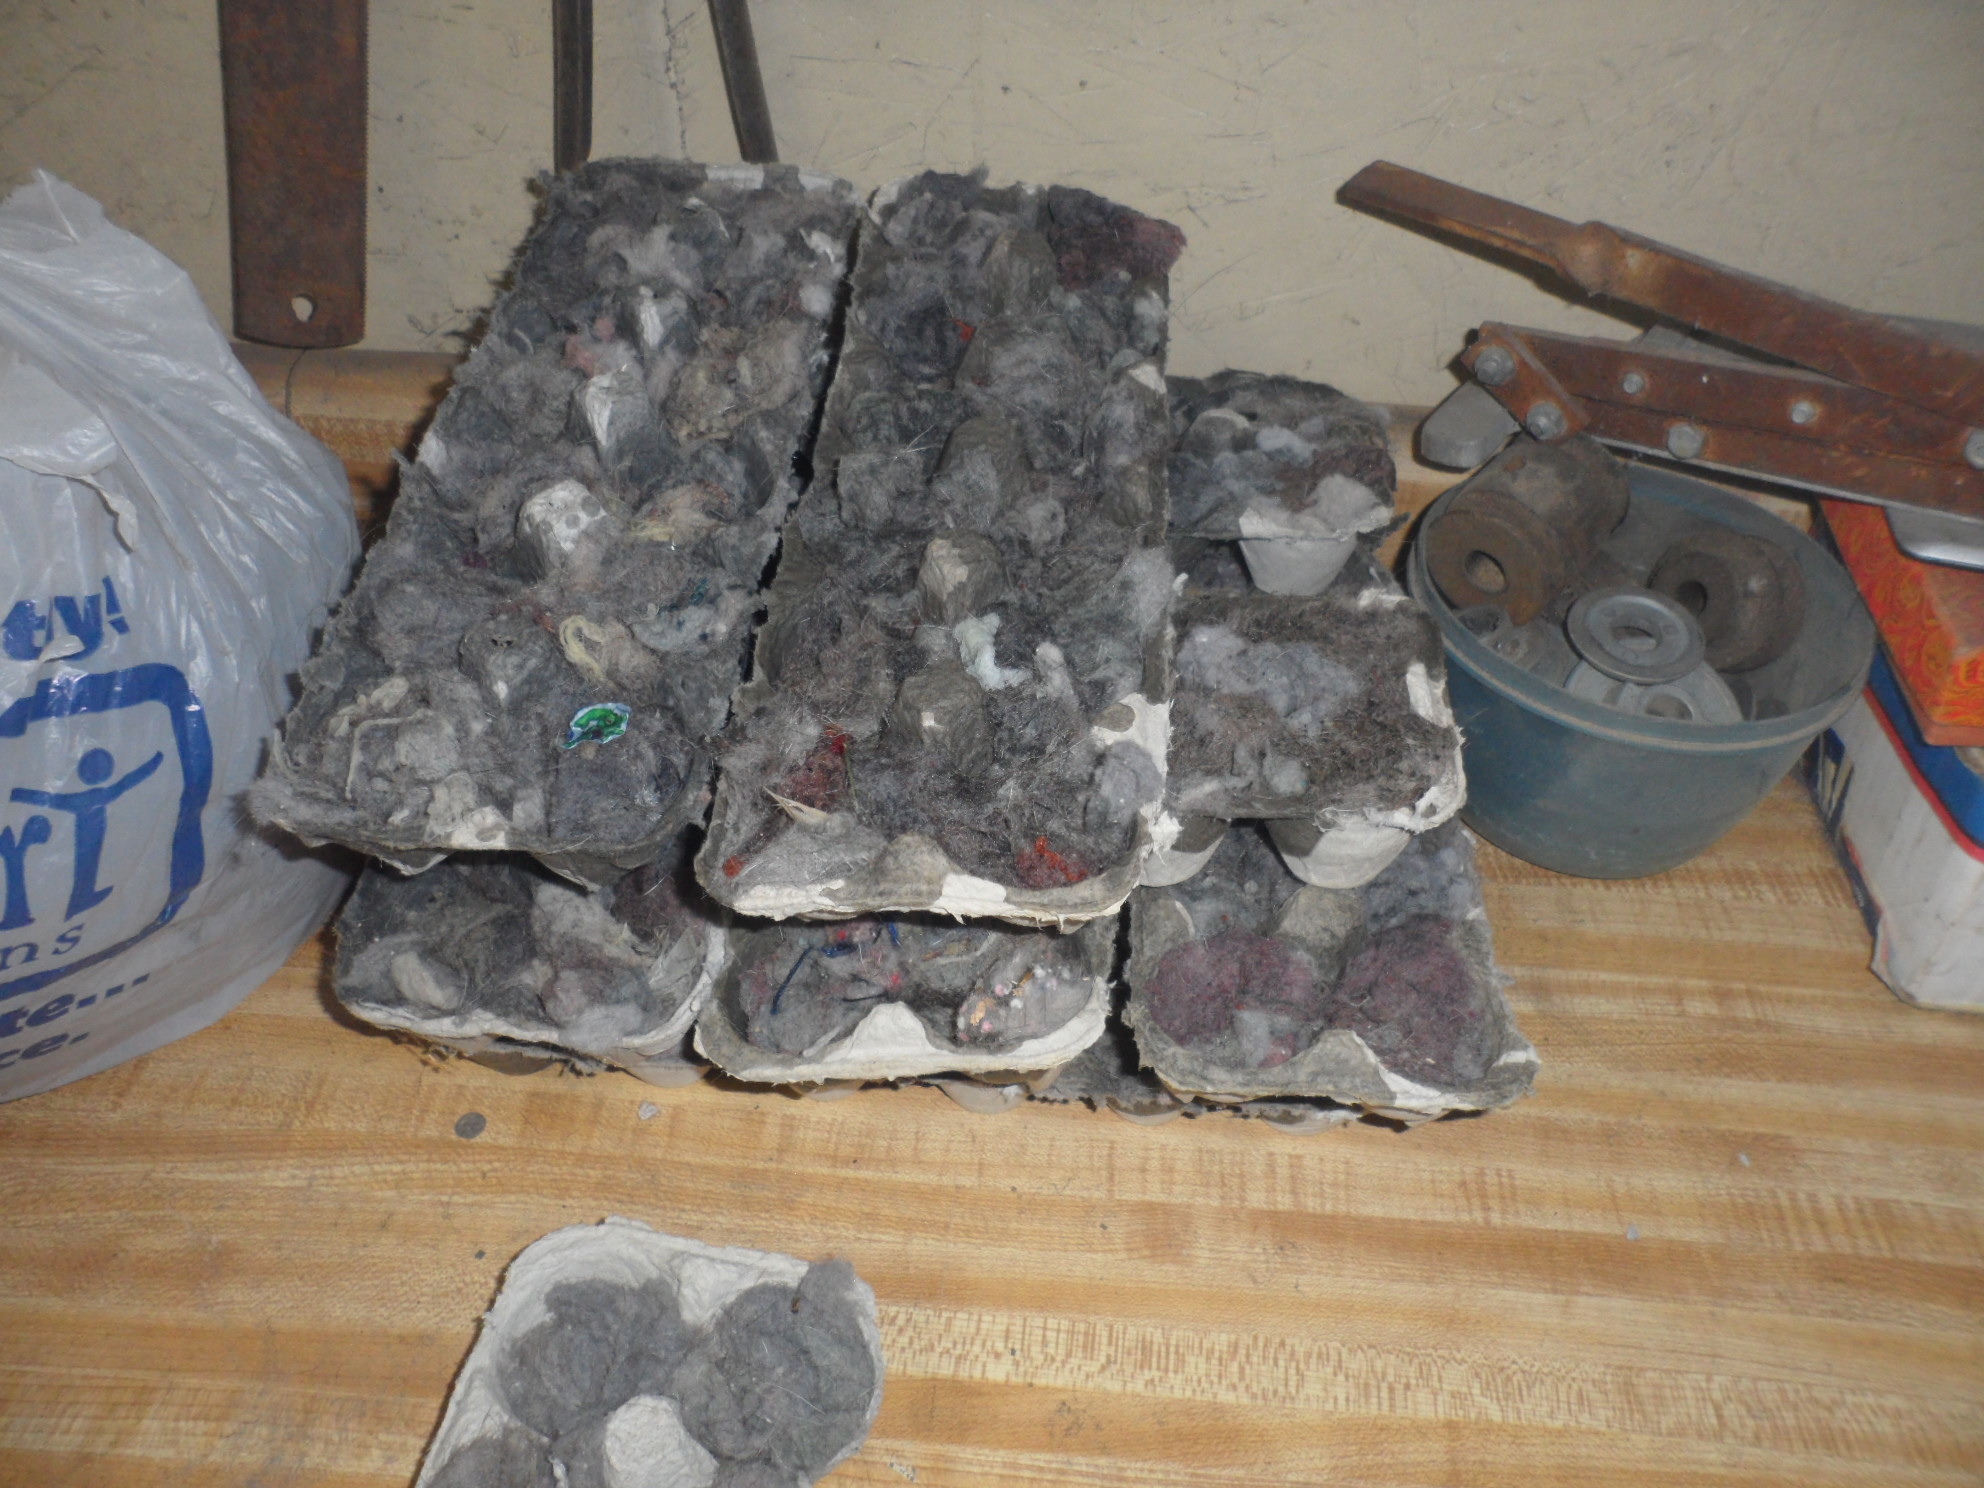
This is a grocery bag full of dryer lint... This is salvaged from our home dryer. It is a mix of all kinds of fibers, cotton, synthetics, dog hair and paper that has gone thru the washer.
|
 |
|||
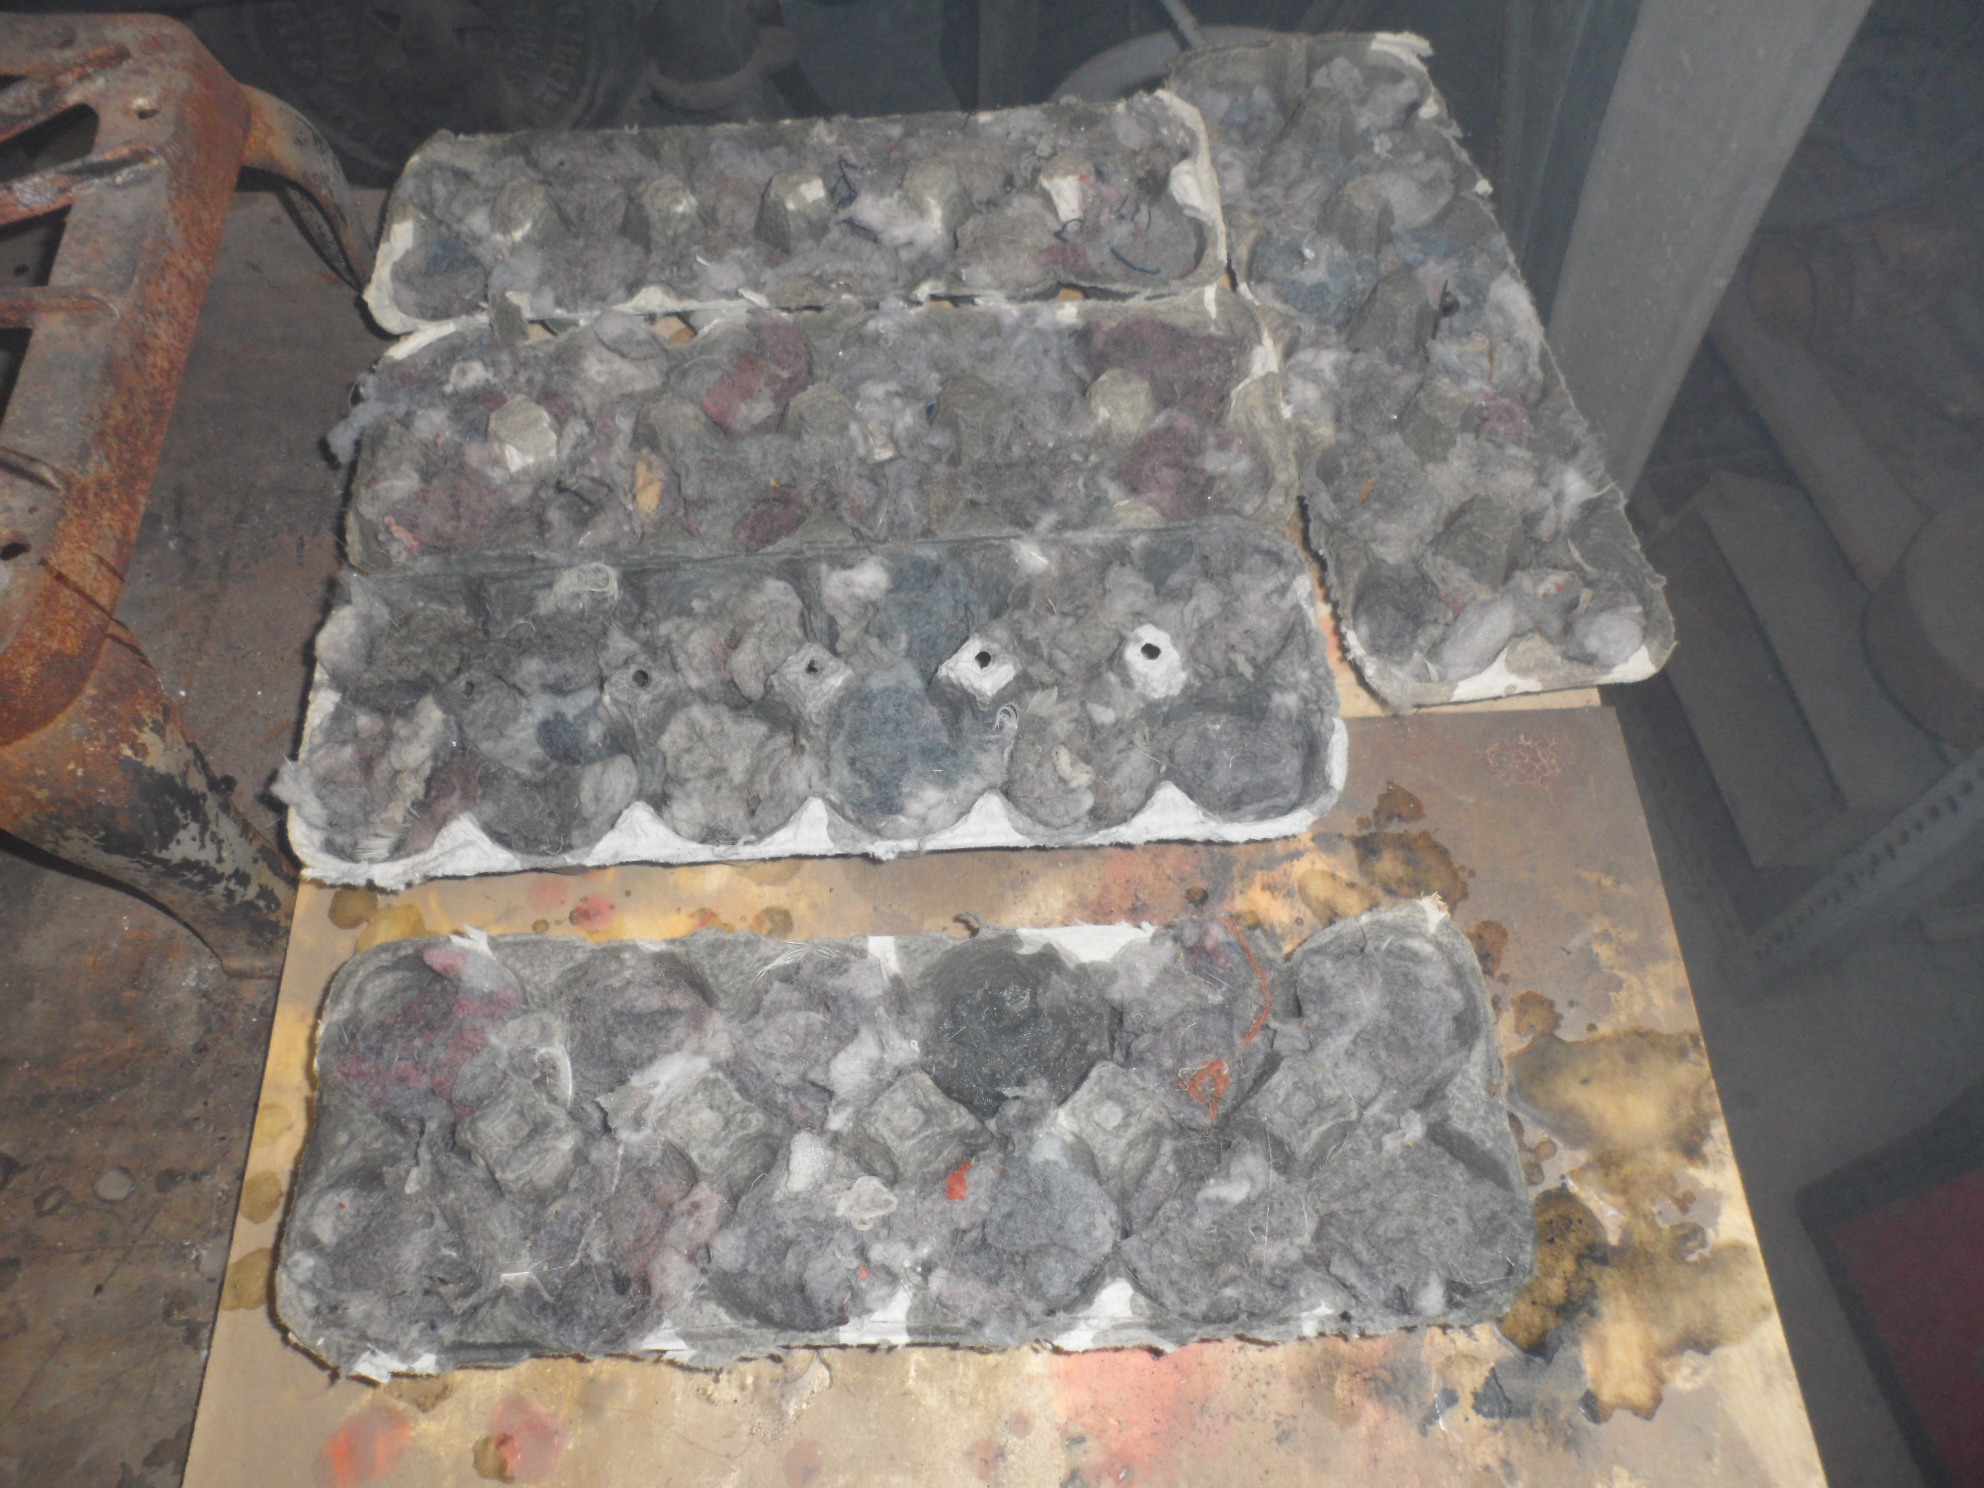
|
Next make sure you have enough Paper egg cartons. Remove the tops. No need to cut them, just carefully tear them off. The rough edge will help in lighting them. You will need about 12 for each pan of heated wax.
|
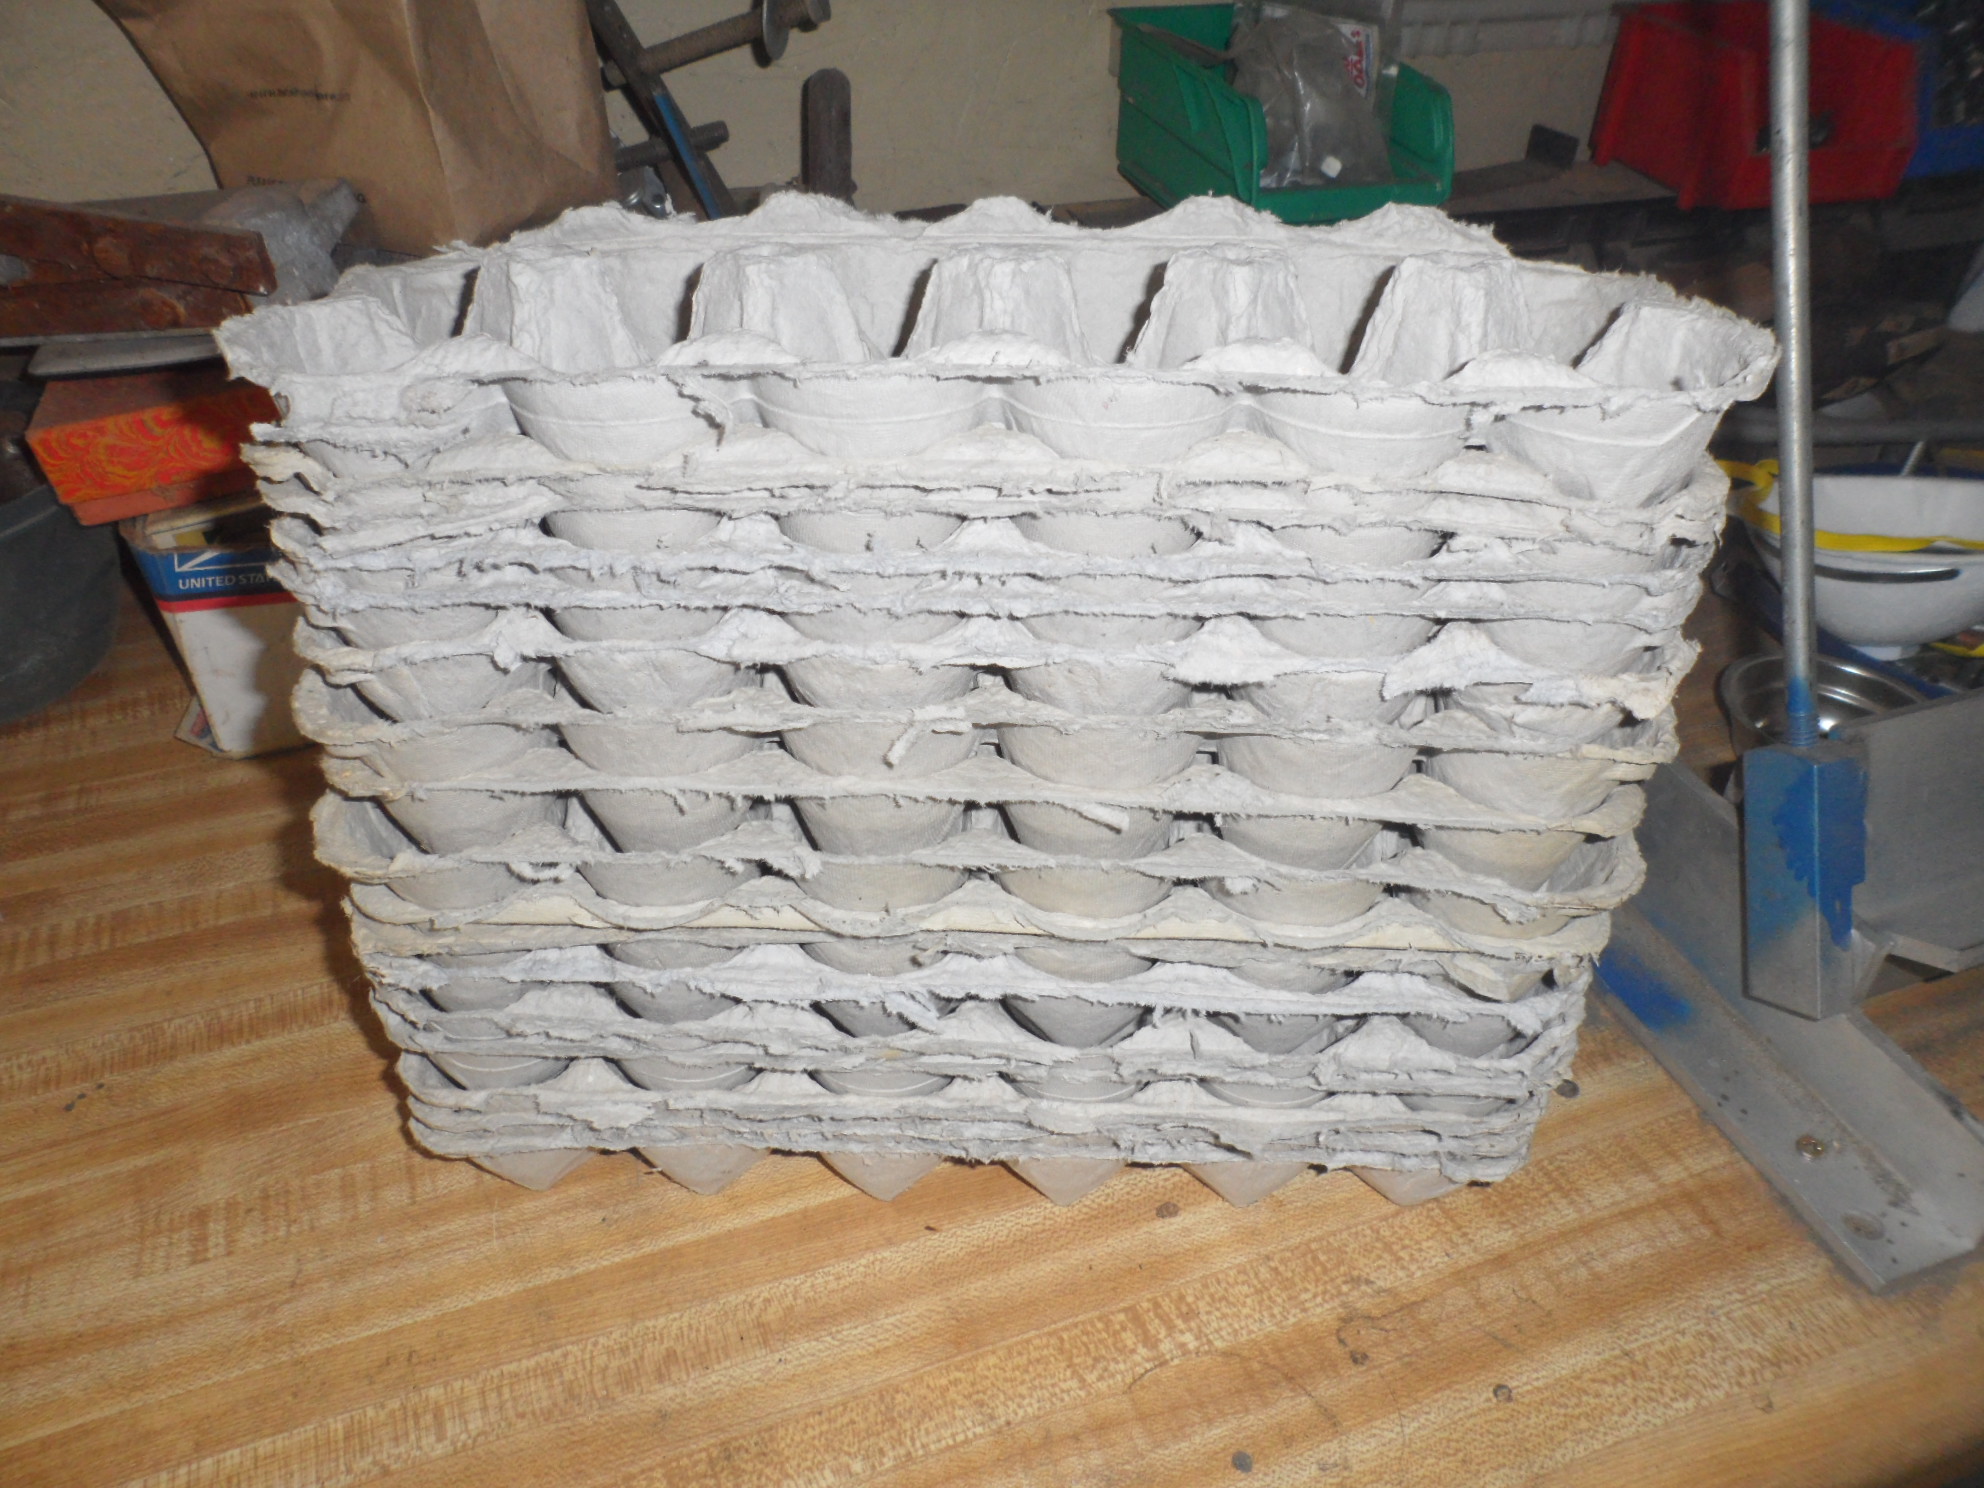 |
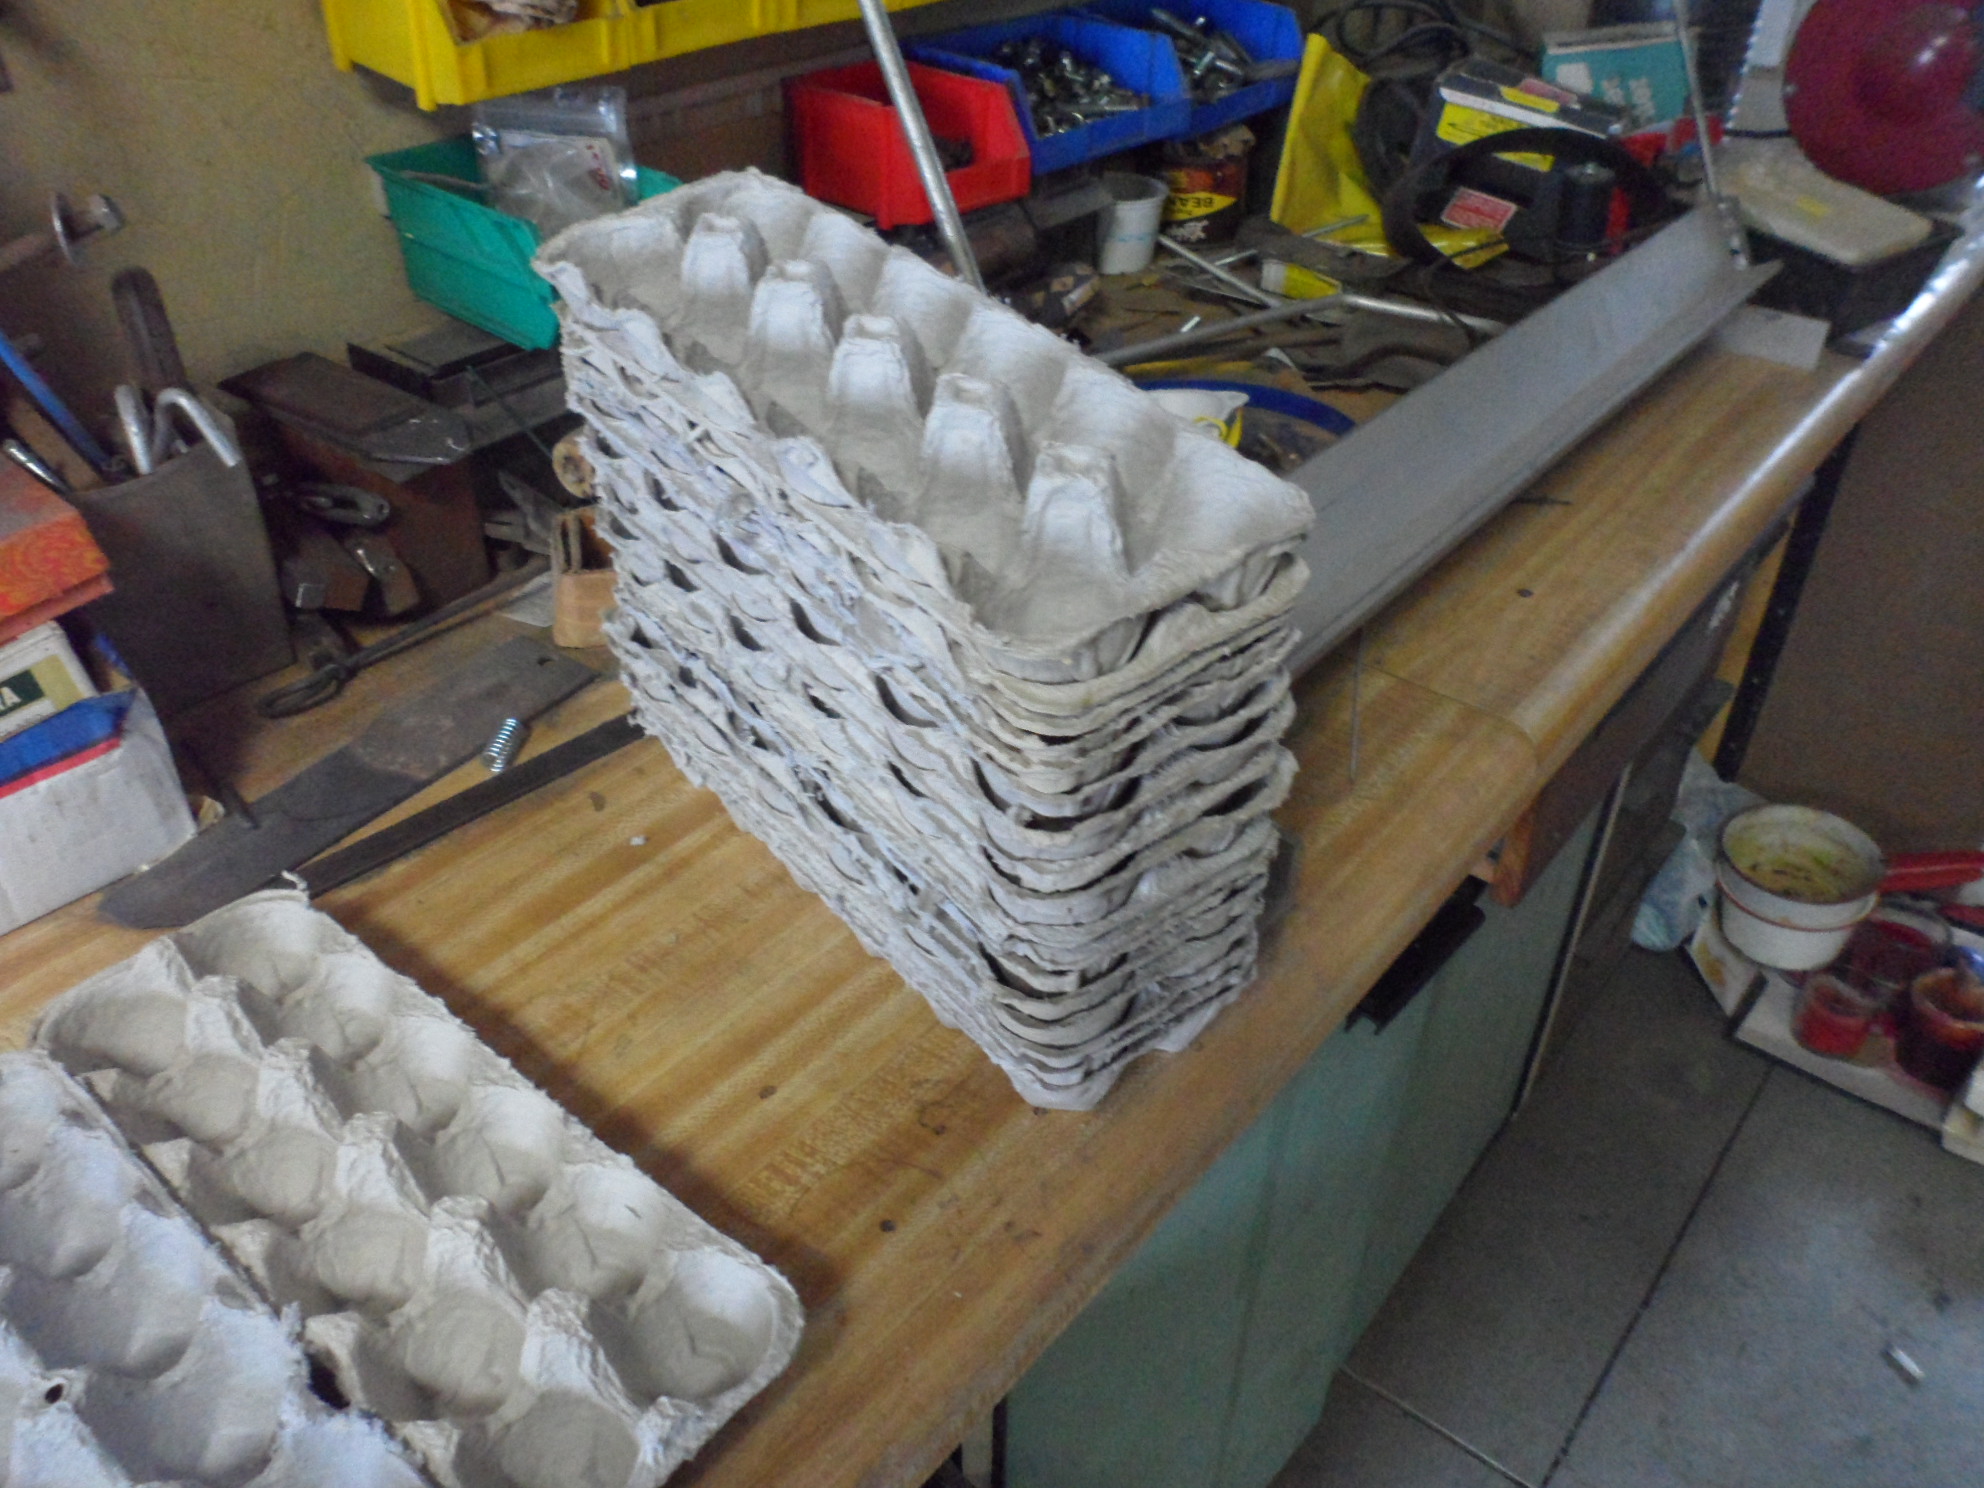 |
||
|
Lay out 4 to 6 empty
lower parts of the cartons. As you fill them you can stack them up because once you get the wax heated you need to work rapidly.
|
|
|||
|
Here you see 6 carton halfs filled with lint. Each cell is stuffed with lint in a quantity of roughly the size of a small hens egg. You will want to push the lint down level with the edge of the carton. If it is firm you are in good shape. If it is too loose your starters will sink to the bottom and be short burning.
|
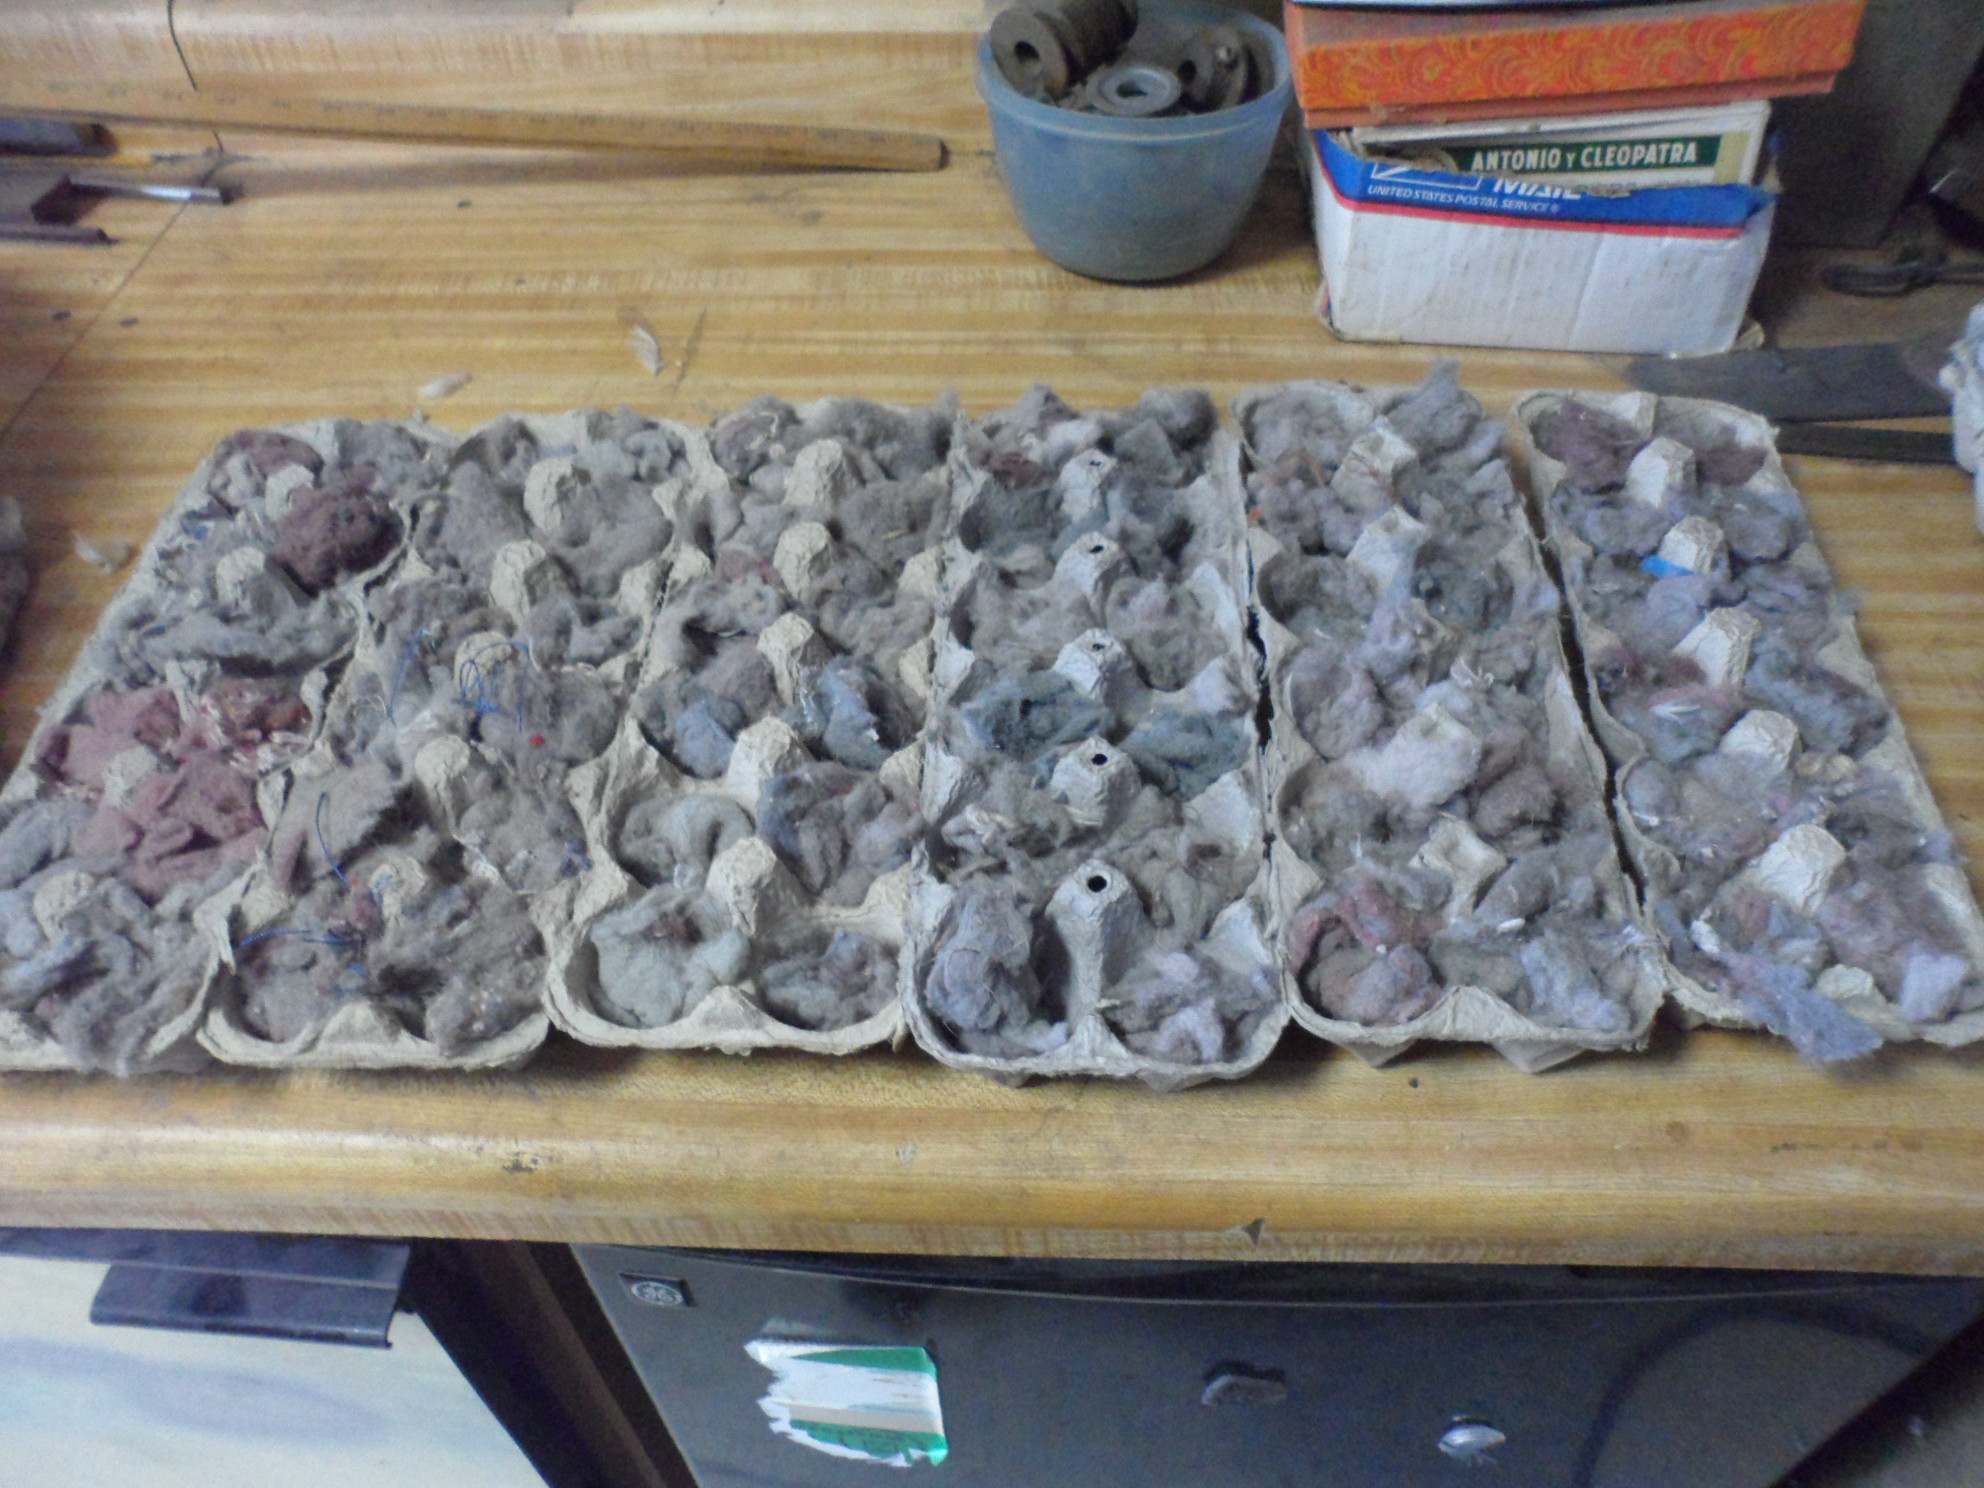 |
|||
| Prepare your Wax Next. | ||||
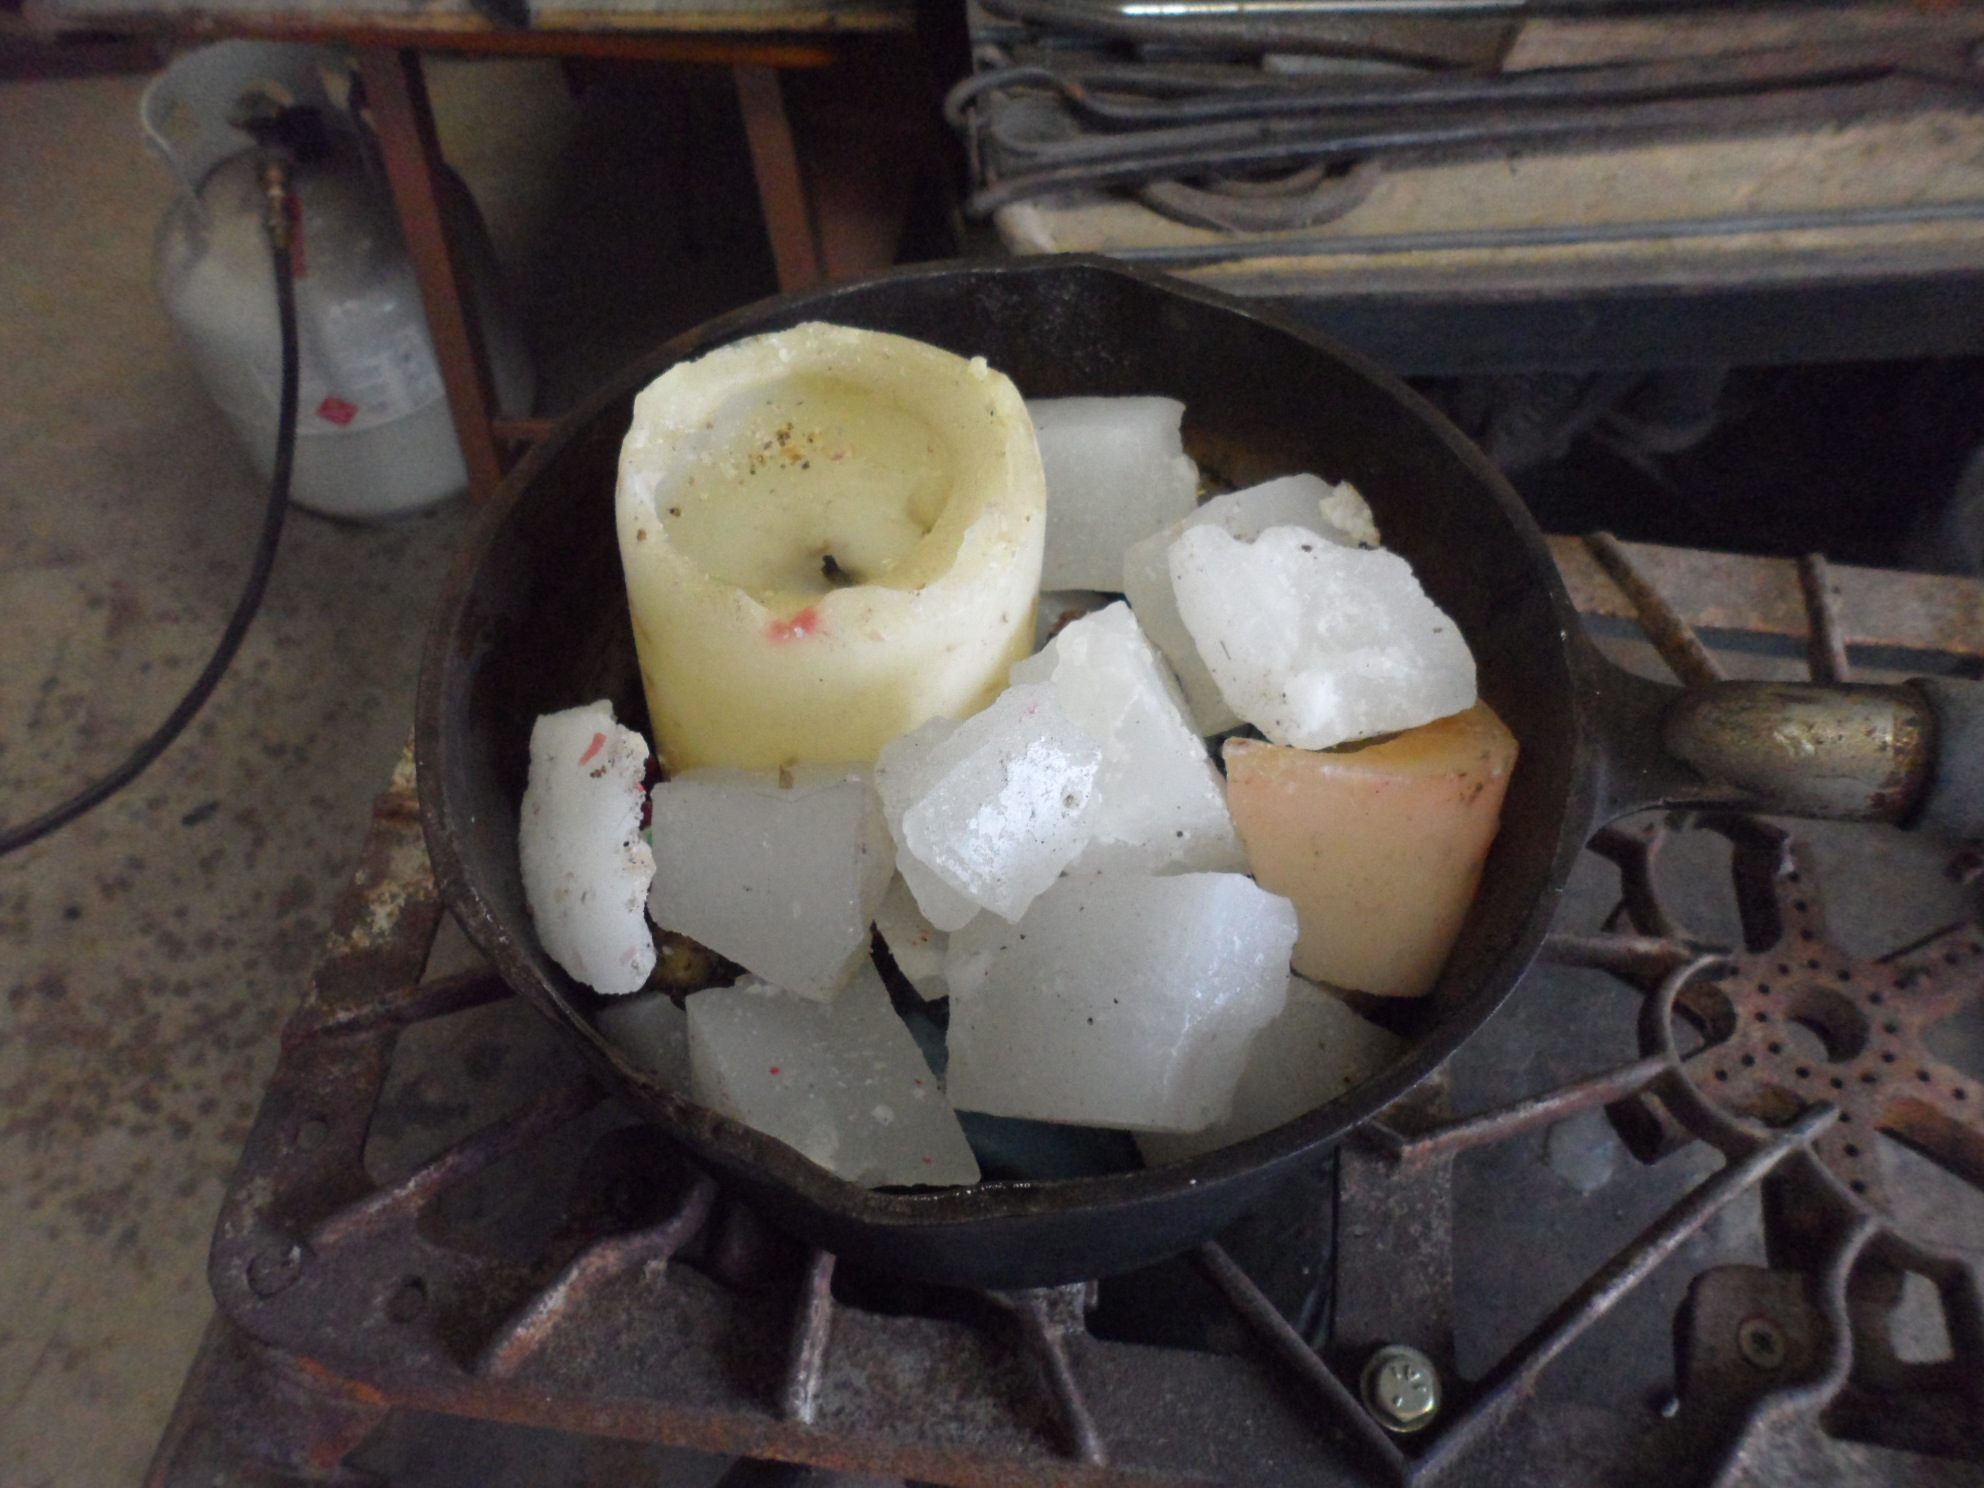
|
Find your bucket (or bag) of old, used candles and stubs picked up from thrift stores, rummage sale or from 'curb shopping' |
 |
|||
|
Fill your dedicated wax melting pan to below the top edge - Loosely! You DO NOT want dribbles of wax to melt down the outside of your pane! That would be BAD THING... |
 |
|||
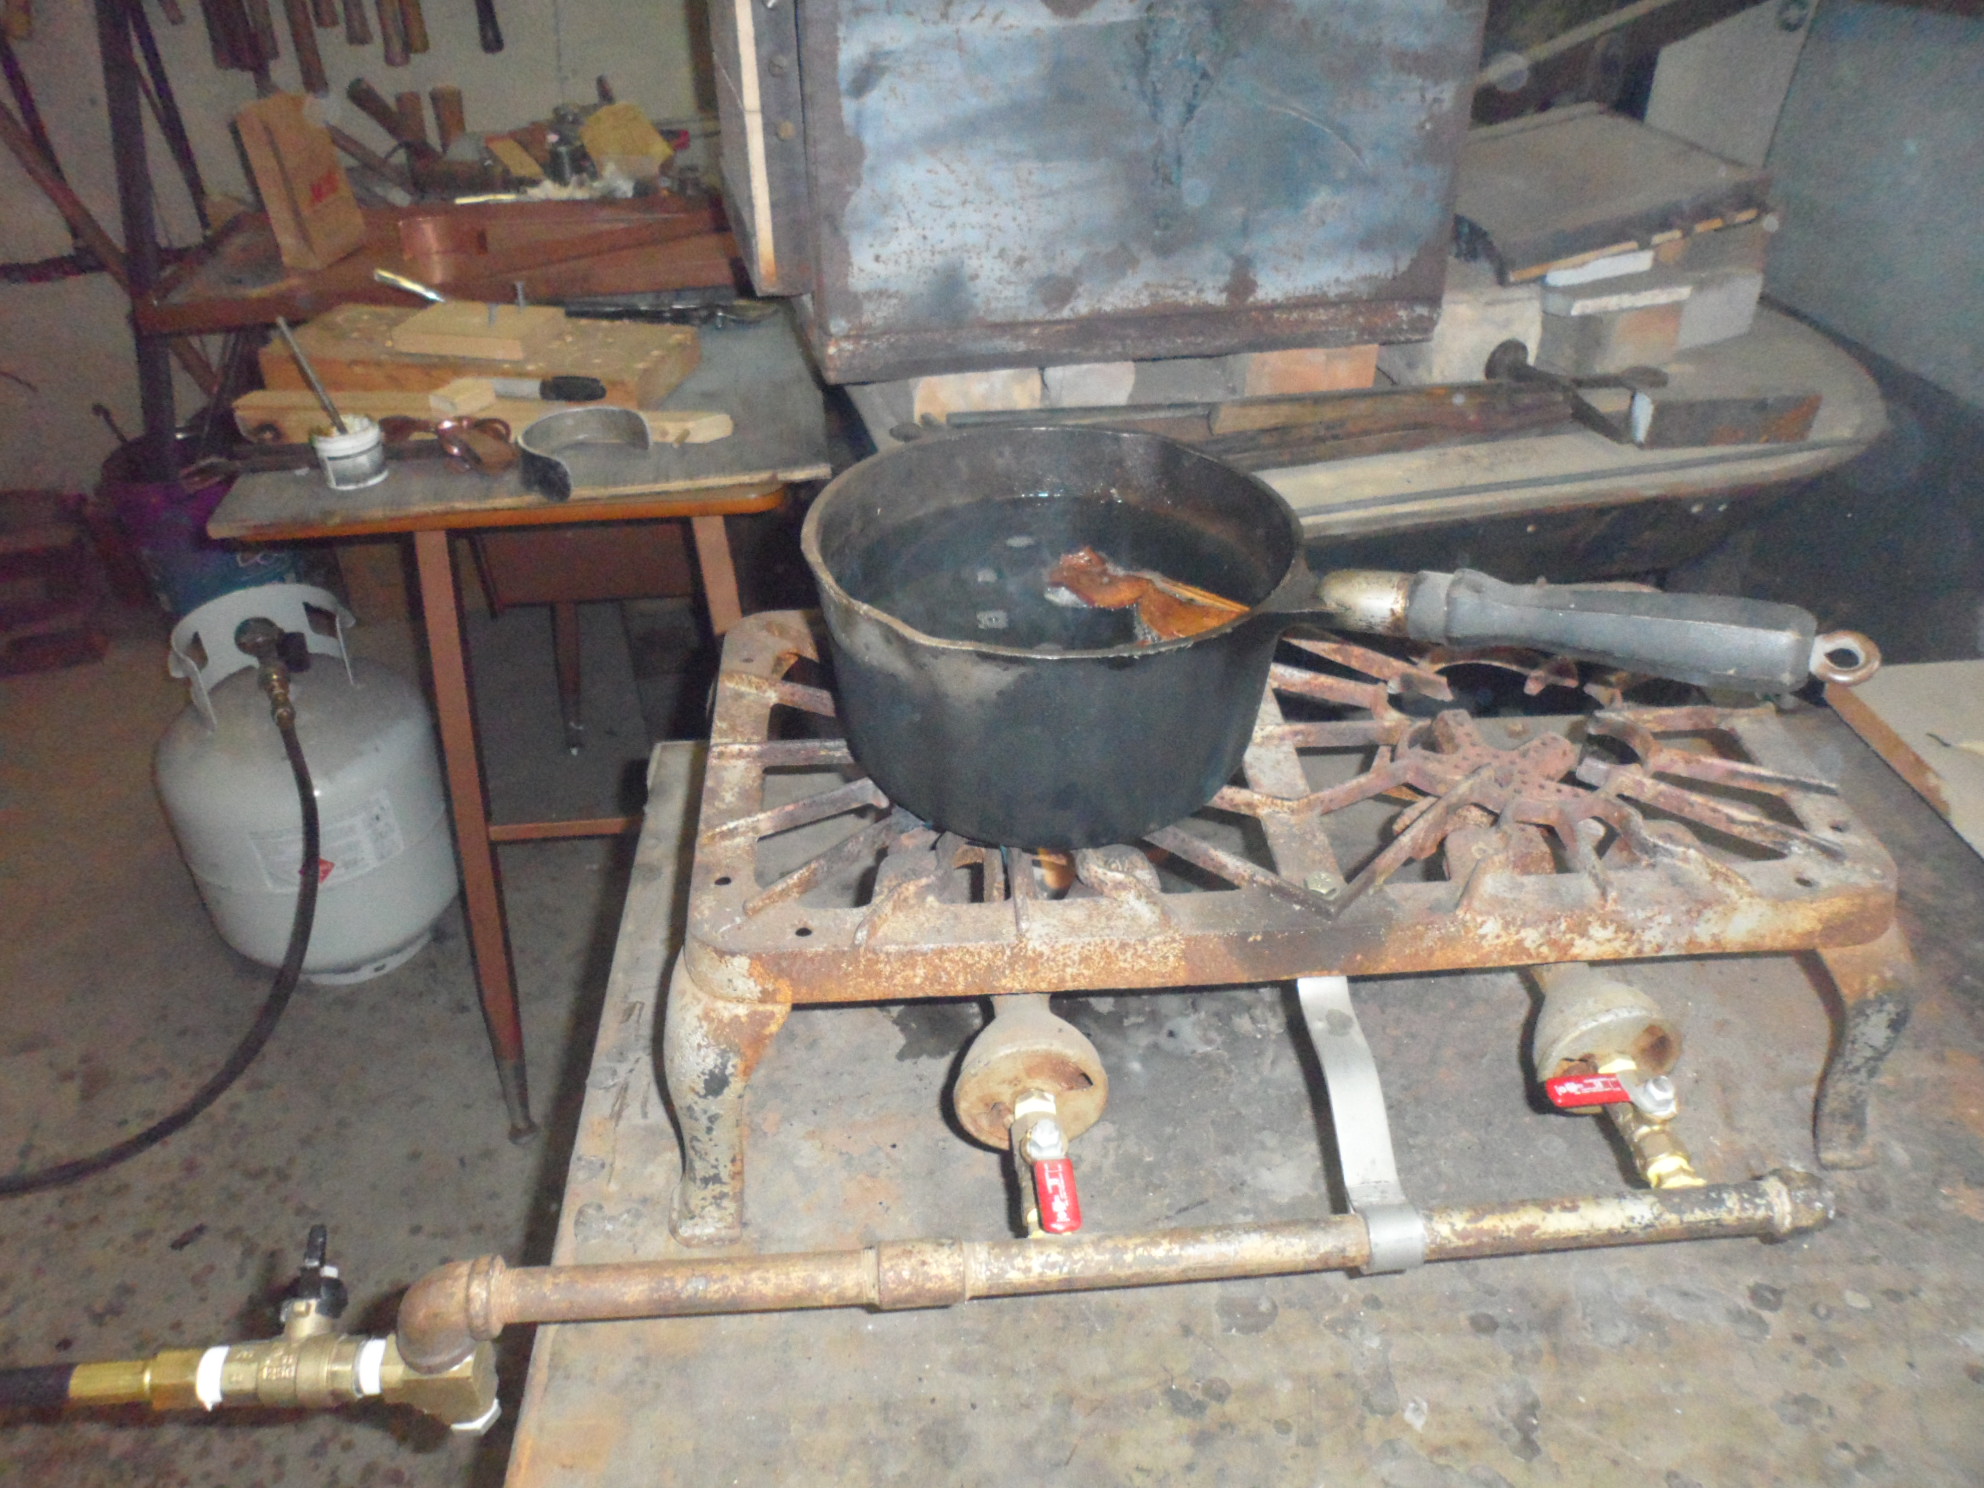
|
The next step is to light your heat source and position the pan directly over the flame. Do not heat on too high a flame because you want to get all the wax melted before it starts smoking! There is a fine point where the wax just starts to smoke - do not go past that because it can burst into flame! Keep a lid for your pan handy in case it ignites.
|
 |
|||
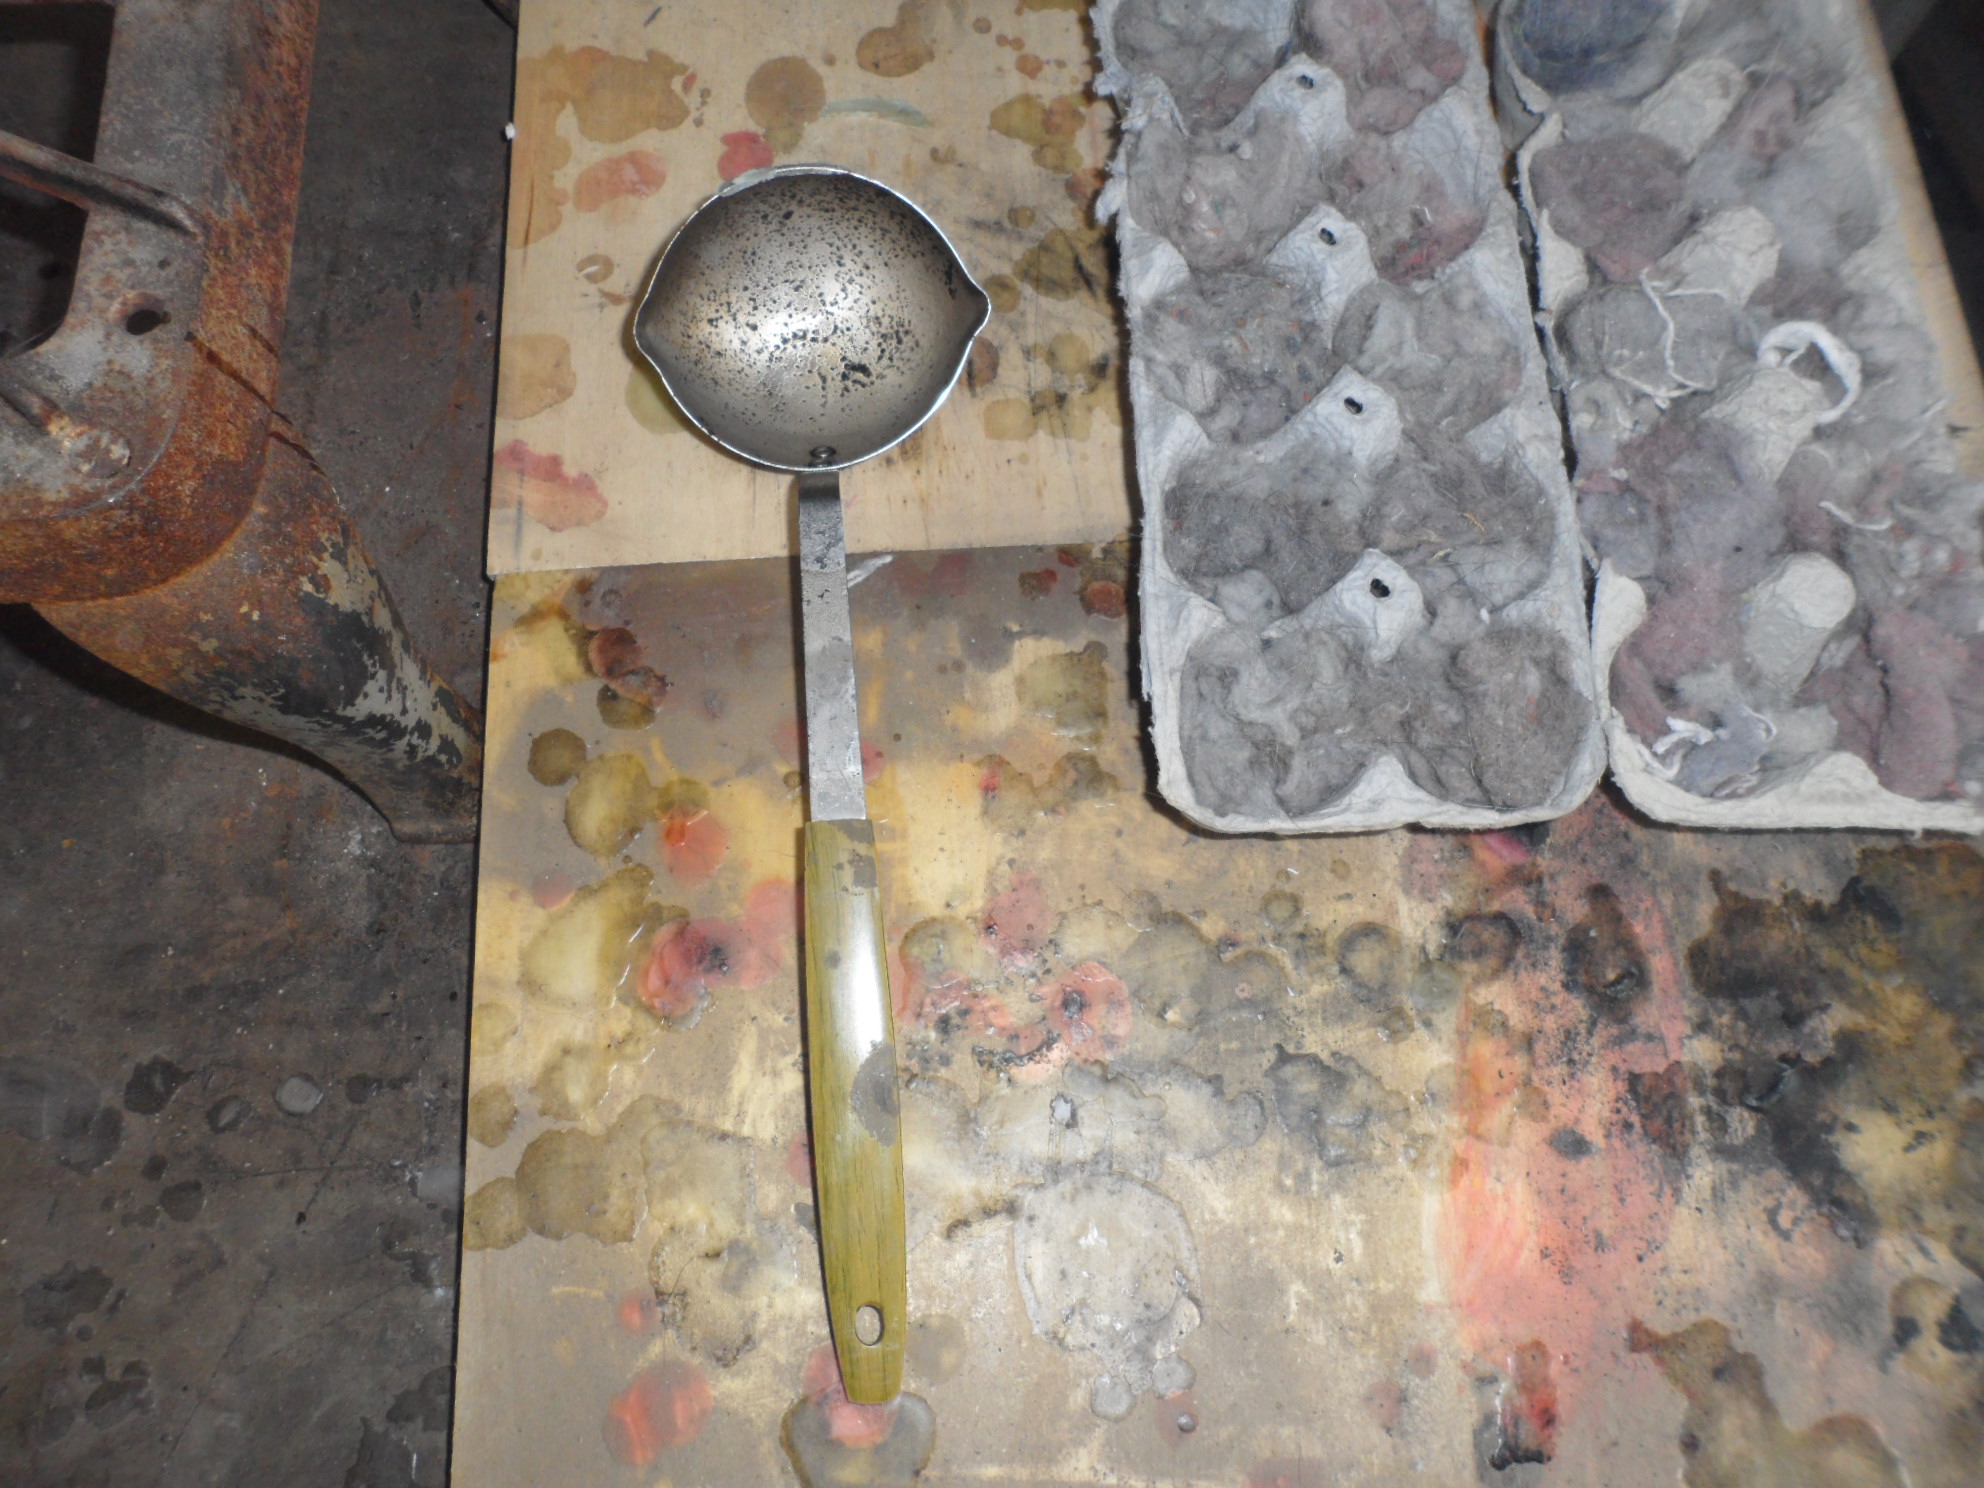
|
Once the wax is to heat turn off your heat source and [Gently] move next to your waiting molds. I generally do them 4-5 at a time. I use an old small soup ladle to dip my hot wax from the pan to drizzle it into the waiting lint 'nests' It it is hot enough the wax will foam/fizzle up. This is important because that means that the lint has foamed up and coated all the lint. The starters burn hotter that way.
|
 |
|||
|
Here you can see five cartons have been filled with the hot wax. They should be moved to the area where you will be allowing them to cool at. Put down your next series of molds to be filled. |
 |
|||
|
Here are seven filled ones in my 'cooling' area. Note the stacking...each layer is at right angles to the one below - this allows the cooling to be more rapid.
|
 |
|||
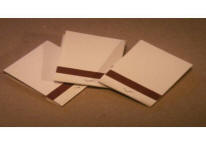
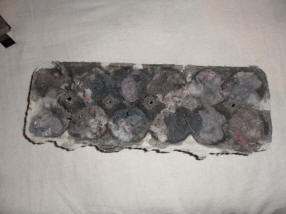
|
Here a single set of twelve fire starters. Once they have cooled they can be broken into either singles or doubles. |
 |
|||
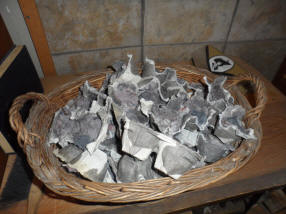
|
A basket full of finished product! A side bonus is that these often make a nice room scenting agent... Assuming you use scented candles...
|
 |
|||